


This article explains how to tether a Sony camera to a computer using WIFI. I have tested this with both a A1 and A7RIV.
Sony cameras can send images to a computer and optionally be controlled (tethered) via USB, Ethernet LAN cable (some models) and WIFI. FTP and Cell phone is also supported but not covered by this article. As WIFI is generally fast and there is no cable to get in the way, I have decided to WIFI is the best option for me, so that is what this article is about. Ethernet was the easiest to get working as all I did was connect the cable and set up PC Remote to use that connection. USB seems to be hit and miss especially with the A7RIV so even though WIFI is not as easy to configure, its still my best option.
Although Sony has both an old menu system and one that was revised in 2022, the PC Remote menu is similar for both systems therefore I will just document it once.
Before you start, you will need to decide how you want to connect via WIFI as Sony offers two options: using your own network “Wi-Fi Access Point” or have the camera set up a wifi SSID which Sony refers to as “Wi-Fi Direct”.
Option One”Wi-Fi Access Point”is to connect the camera to your existing wifi network. Sony refers to this in their menus as a Wi-Fi Access Point. There are several obstacles to this option however it likely offers the best long term solution as re-connecting is easier.
You can skip this paragraph if you network separates 2.4G from 5G (does not support MIMO). As my primary network support MIMO and WAPA3 I needed to set up a guest network with 5G (faster than 2.4) and WAPA2. Although Sony indicates the A1 supports MIMO (2.4G & 5G) it did not to find myMIMO SSID – I don’t know why. I suggest you try that first. Perhaps my use of WPA3 security – which is not supported by Sony as of 2022. Still, connecting to my own network is more difficult but may be the best long term solution as once its setup as re-establishing the connection is easier. To get around the problems connecting to MIMO & WPA3 (which for me is not unique to Sony) I already set up a guest network on my router with the two radio frequencies separated into two SSIDs, using WPA2/WPA3. The camera located both of the 2.4G & 5G networks SSIDs. Even though the primary and guest wifi networks on my router have been allowed to communicate with each other I had to connect the computer to the SSID that the camera was using (guest SSID) in order to get things working.
Option Two “Wi-Fi Direct” you could have the camera create a wifi network (SSID) and have your PC connect to the cameras SSID, this option may be easier to set up however your PC will loose internet service during this connection and you will have to reconnect each time you use it. This is why I recommend option one.
On the Sony Alpha 1 – Ver 1.31 Firmware
Before you start there are a few housekeeping items on the camera to make the process easier. Turn on Touch Operations on the monitor if you intend to connect a wi-fi Access Point (option 1) as you will need to key in the wifi password into the camera. Setup > Touch Operation > Touch Panel > Both. Also if you have Airplane mode turned on, turn it off: Network > Network Option > Airplane Mode OFF. You might want to consider putting the PC Remote Function in a ‘My Menu’. You may also need the password for your wifi network. Sony also has mentioned problems with connectivity if the PC has the firewall enabled, however I did not experience that issue. At the time of producing this article I was on a Mac Studio running MAC OS 12.6.1.
There are two options to connect via wifi. Option 1 uses the wifi network from a router while option 2 uses a wifi network created by the camera. I use option 1:
Option 1: To connect the camera to your existing Wifi:
- Turn on PC Mode: Network > Transfer / Remote > PC Remote Function ON
- Select PC Remote Cnct Method.
- As you are connecting to your existing WiFi name (SSID):Network > Transfer/Remote > PC Remote Function >PC Remote Cnct Method: Wi-Fi Access Point.
- Select the SSID: Network > Wi-Fi > Access Point Set.
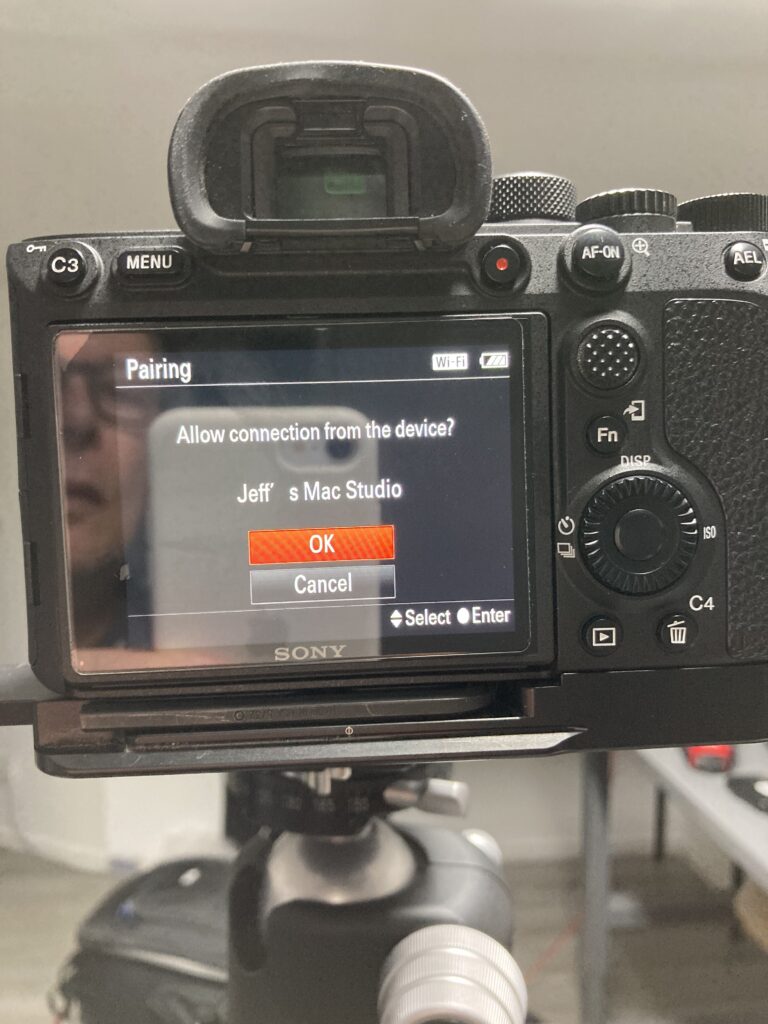
- You may receive a message “Pairing with the PC is required. Hit OK. This comes later. This ‘pairing’ is poorly explained by Sony, it basically prevents other cameras from connecting to your computer. I chose to use this option as it made the connections easier to set up and more secure.
- Enter the password for your wifi network. Turning on Touch makes this easier or you can use the cursor to move around the keyboard.
- You may see a yellow -PC- indicator is displayed on the monitor, this indicates PC Remote is turned on but does not indicate wifi is working nor does it indicate there is a connection to anything.
Option 2: To connect your PC to the Cameras SSID:
- Network > Transfer/Remote > PC Remote Function >PC Remote Cnct Method: Wi-Fi Direct.
On the Computer:
- Start up Imaging Edge.
- A window entitled “Remote” is displayed. On my setup, there was no camera indicated and the program puts up a window “the camera is not Connected. Check the USB or network connection. Hit OK.
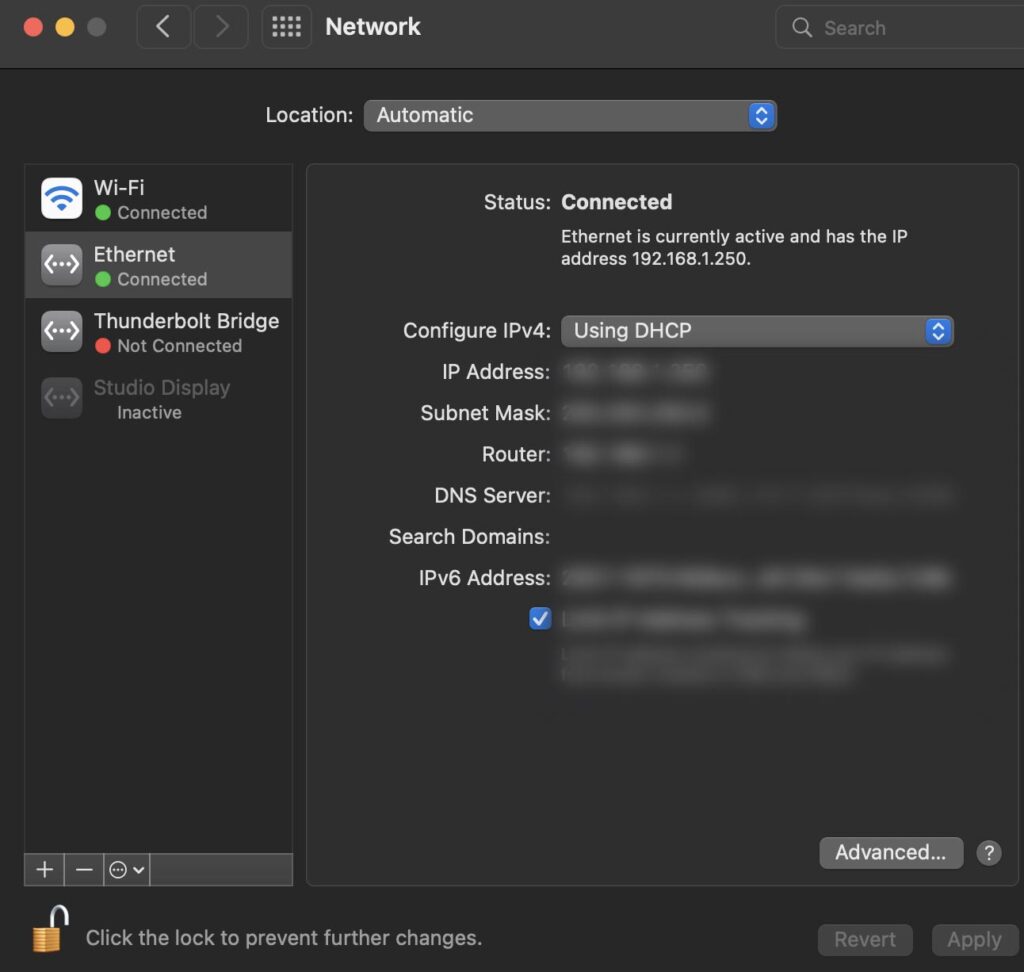
- Sometimes the camera would not be visible to the Sony Image Edge app and the Remote window would not display the camera. In order to get the camera to register consistently with Image Edge I needed to move the Wi-Fi network to the top of the service order by using the ‘…’ icon near the bottom left of the MAC OS Settings Network window. The WIFI SSID the camera used had to be used by the computer.
At this point you should see something similar to the following:

Since I have already paired my A1 it says Pairing Done at the top right of this screen however if the camera has not been paired you will need to pair it on the camera
Network > Transfer / Remote > PC Remote Function > Pairing.
Double Click on the Camera Name in the remote window will start the camera tethering process. Hope this works for you.
Email me if you have comments.