

For some time now I have been considering how I can grow photographically so I decided to write down my feelings on where I feel I am now and what needs work in the future. While I was doing this the Northumberland Photography Club asked me to write an article for their newsletter. As I felt most folks would not be interested in where I am now, they may be interested in my plans for improvement as many of those aspects apply to many photographers. I am also a photographic judge and have felt constrained by that process, so as part of planning my next steps I wanted to understand what was missing there. Here is a copy of the article:
If find writing things down helps to me focus – and so my next steps will be to increase my skills in Visual Design focusing more on the subjective artistic aspects of my work. It’s a tough slog as I am still searching for a good source of training. Let me know if you have any suggestions.
A utility A7Info displays the active focus point the camera used to acquire focus at time of shooting.
If you are using a Sony camera released prior to 2021 (A7RIv, A9II) then there is no method of reviewing where the focus point was when the shot was taken during post processing.
Note that only Sony ARW files are supported (not DNG).
.The application can be located at: https://soens.de/downloads.html.
For more current cameras release around 2021 sony displays the active focus points in Image Edge Edit application.
July 14 2021
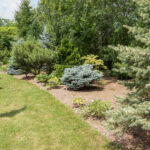
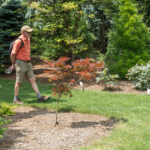
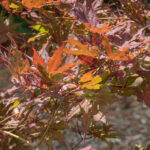
Got some great ideas from our visit – hope to place an order for May 2022:

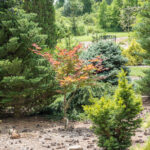
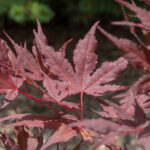

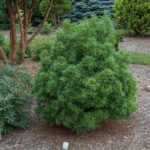
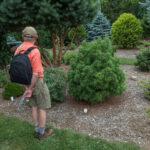
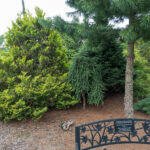
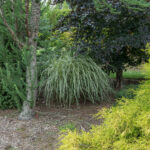
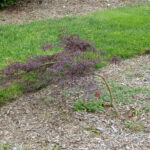
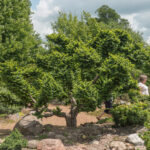
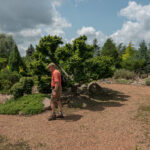
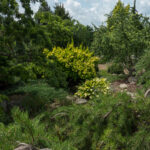

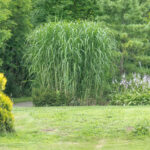


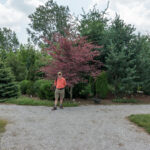
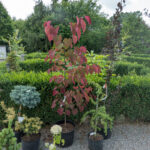
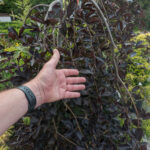
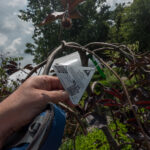

Here is a set of images that include the taller and narrower structural elements:
- Select Images for export
- Within the Slideshow Module click ABC button > Edit
- Select Filename or Keywords etc (IPTC data)
- Export the: Export JPEG Slideshow from the Slideshow menu at the top of the screen
The full article can be read here: https://www.dpmag.com/how-to/tip-of-the-week/use-lightroom-to-watermark-images-with-filenames/
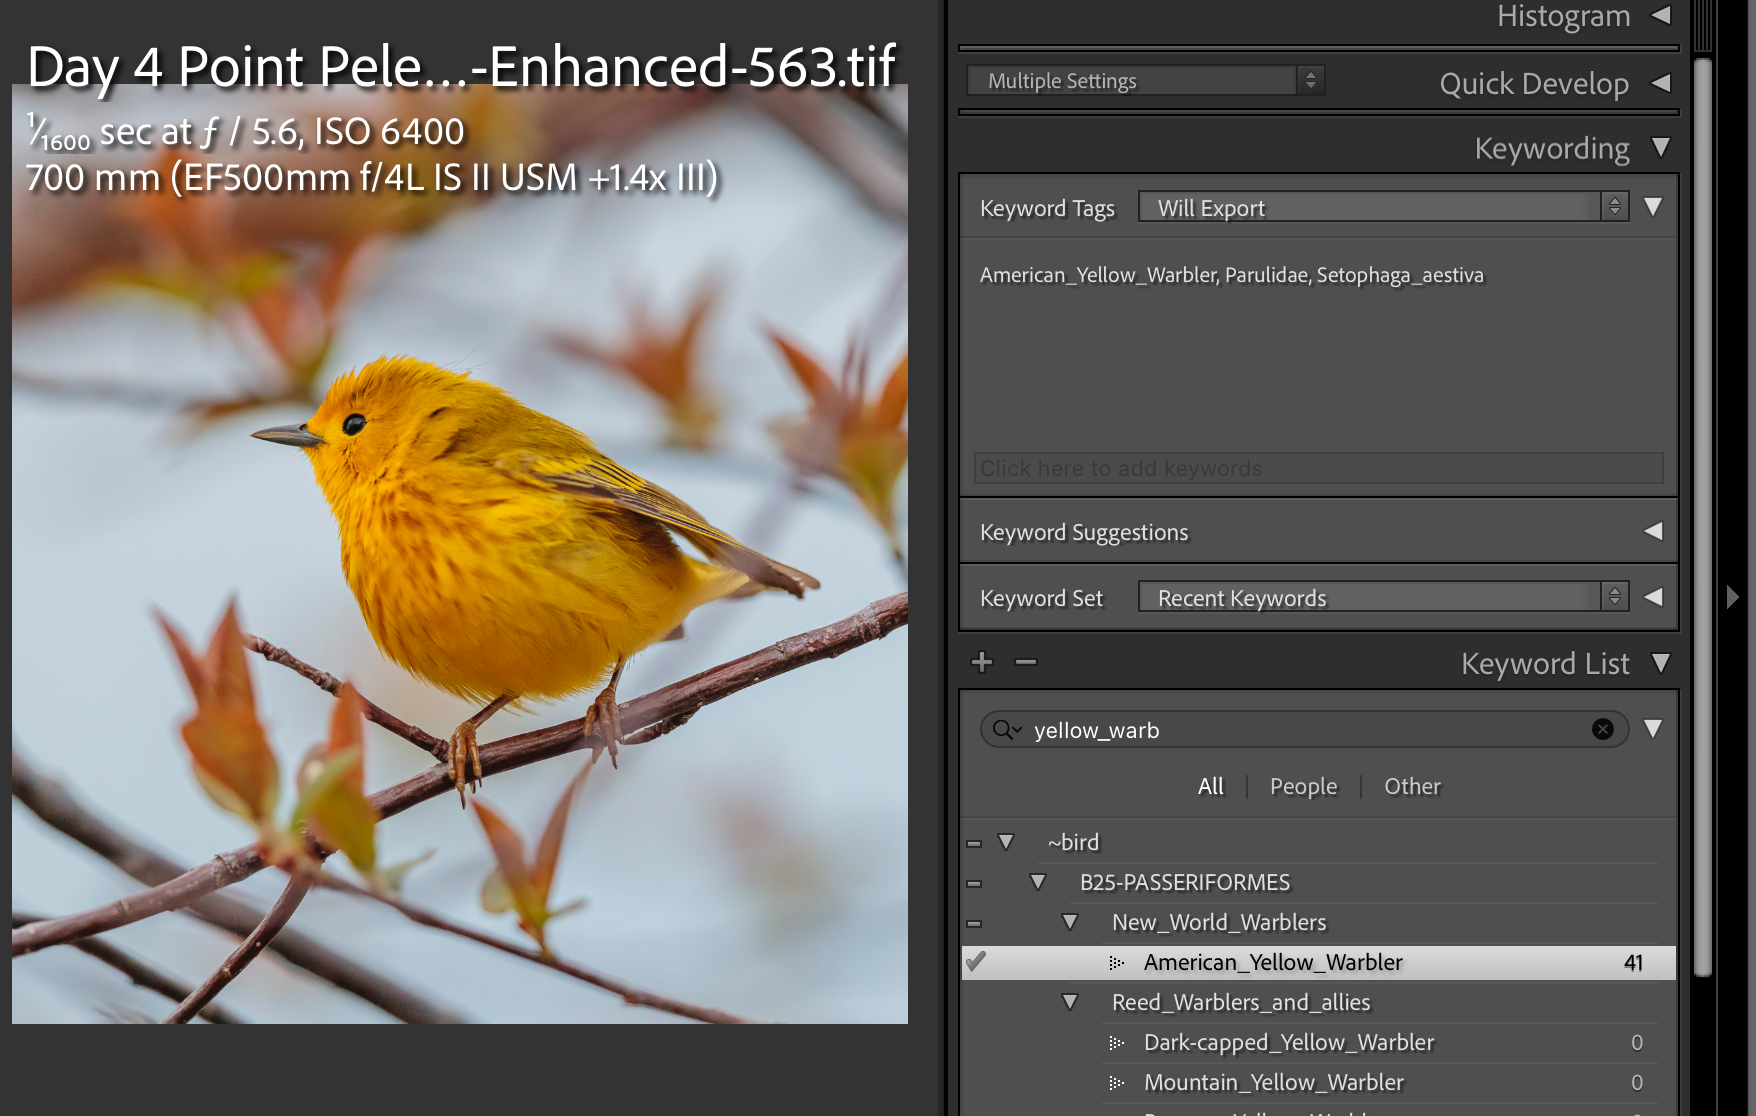
Lightroom Bird Name Keywords is a list of what appears to be all of the bird names on the planet – over 10,000 bird names sorted by species along with the Latin name entered hierarchally as Lightroom CC keywords. The list is searchable within Lightroom CC so finding a portion of the name or species generally gets you to the correct name and spelling.
I found the list of names from the Lightroom Keyword list blog however Lightroom does not support this list very well because if you attempted to find “yellow warbler” it found all keywords with the word “yellow” or “warbler”. Given that the list contains every bird species on the planet, the list of yellow goes on for hundreds of birds.
To resolve this I performed a mass edit and changed the blanks to “_”. Therefore searching for “yellow_warbler” finds the following: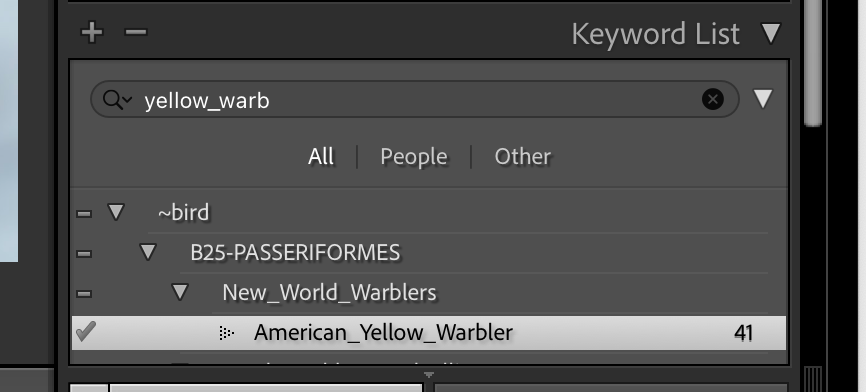
Credit: The source for the original list of names came from: http://lightroom-keyword-list-project.blogspot.com/2013/12/birds-20.html
Placing a checkmark on the appropriate name then loads the following into the selected image(s).
Note the “will export” has been selected.
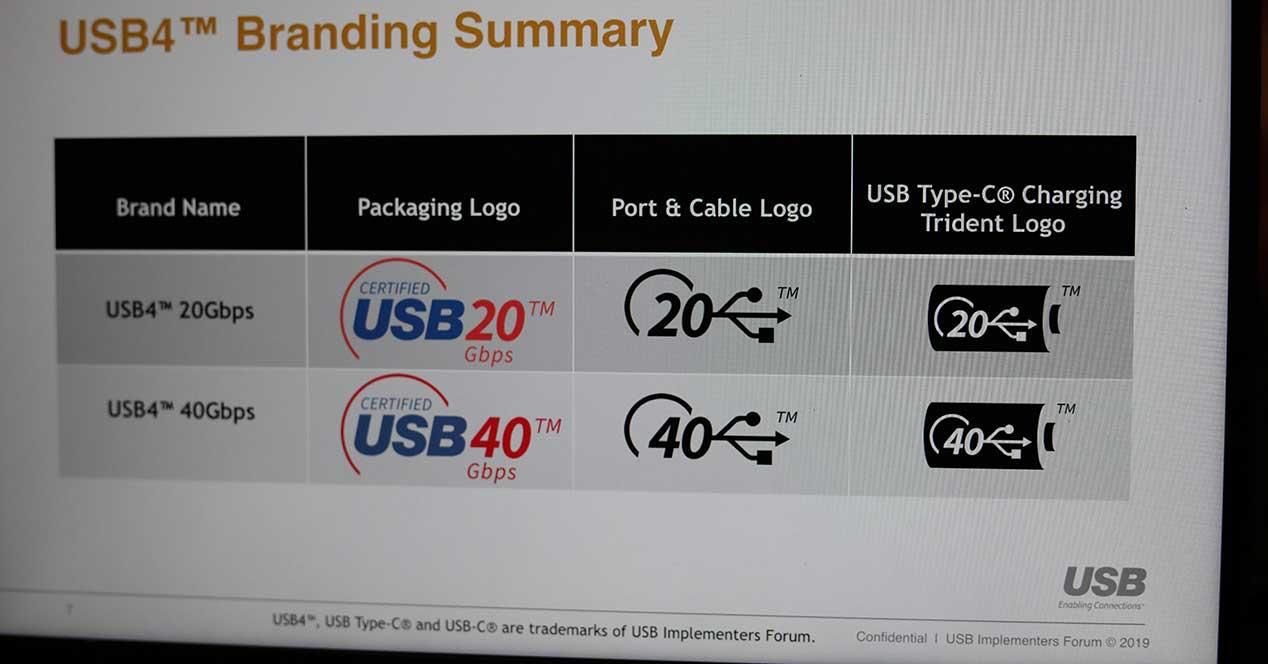
The current state of the USB / Thunderbolt standards are very confusing so I created this reference sheet:
| Standard | Port /
Connector End |
Power | USB Type | Speed | Cable | Alais | Display Port | Comments | Daisy Chain | Protocals | Displays | Intel Controller |
| USB-A | Square end must be inserted correctly | 7.5 watts | Gen 1 | 5 Gbps | USB 3.0, USB 3.2 Gen 1 | |||||||
| USB-C | USB-C Connector Rounded – insert in any orientation | 100 watts | Gen 2 | 10 Gbps | USB 3.1, USB 3.2 Gen 2 | |||||||
| Gen 2×2 | 20 Gbps | USB 3.2 | ||||||||||
| TB-3 | USB-C Connector Rounded – insert in any orientation | 100 watts | Gen 2 | 40 Gbps | TB-3 certified | Also supports USB 3.1 Gen 2 @ 10Gbps | HBR3 | Certified Cable with TBB3 – ensure 40Gbps | Six TB3 devices | PCI Express – supports External GPU & Display Port | 2 4K, 1 5K 60Hz,1 4k @120Hz, 1 apple 6K with compression | Certified by Intel & can have 4 ports on each computer |
| USB-4 | USB-C Connector Rounded – insert in any orientation | 7.5 watts is minimum standard – check specs | Gen 2 | 40 Gbps | Check specs on cable | Not all USB-4 are certertified. USB 4 may only support 20 Gbps, 1 4k display and 7.5W power | PCI Express – supports External GPU & Display Port | Two 4K, one 5K 60Hz,1 4k @120Hz, 1 apple 6K with compression | Intel royalty free TB3 – | |||
| TB-4 | Minimum 15W | USB-4 | TB-4 certified | Docs can have 4 ports. TB4 Computers and cables are compatible with TB3 cables and accessories. Apple silicon supports TB. | Two 4K displays or one 8k display | Certifiedby Intel & can have 4 ports on each computer |
Adobe may be on to something with their Super Resolution (pixel doubling) software update in Adobe Camera Raw – especially for wildlife photography which often involves heavy cropping or for those shooting with lower resolution cameras (lets say less than 40 meg pixel) such as the A9.
The following two images originate from the same Sony raw ARW file of 6000 x 4000 pixels, shot hand held on a 24 megapixel Sony A9 II at 600 mm, 1/2000 sec at f6.3 from at least 50ft from the subject. To me the raw image seems sharp and in focus but lacks detail when compared to the enhanced image.
The first image is produced using the original native resolution with a heavy crop, resulting in a cropped image of 998 x 1209 pixels which is not very many pixels.
The second used the original .ARW file but was was put through “Adobe Camera Raw Enhance – Super Resolution” resulting in a the original file being upsized to 12000 x 8000 pixels and then I identically cropped the second image to the same proportions as the first – bringing it down to 2404 x 2979.
The second image was then adjusted appropriately for sharpening and noise (for that resolution) with all other settings identical to the first original image.
The second image has more resolution – notice the hairs under the beak – however the difference is a bit harder to see from the web.
Image 1- 6000 x 4000
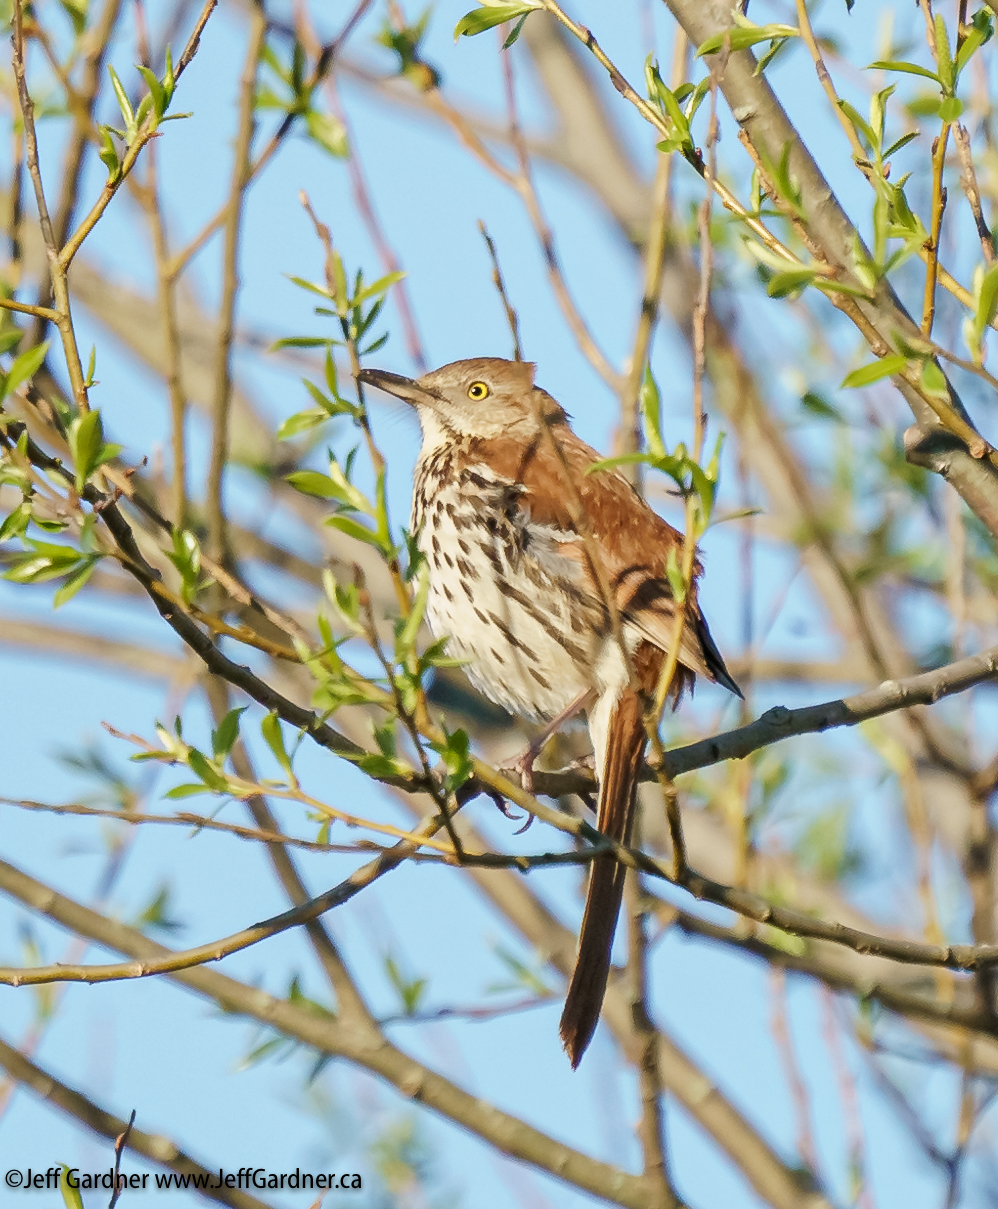
Image 2 12000 x 8000:

As of May 8, 2021 Lightroom does not have the interface for Enhance Double but utilizes the same Camera Raw 13.2 so this feature is now available all be it somewhat convoluted from Lightroom.
- Within Lightroom – select one image and Open in Finder/Window Explorer.
- Within Finder/Explorer: Click on the file name, open with Photoshop.
- Because the file is raw, Photoshop opens it in Camera Raw.
- Right Click on the image in the filmstrip and select Enhance – then check Super Resolution. On my machine it took only 5 seconds to complete.
- In Lightroom you will need to Sync the folder where the new enhanced file is recorded to in order to see it within Lightroom. It will be identified as “enhanced” in the file name.
Once Adobe updates Lightroom to support this feature natively, the above steps will not be necessary.
Let me know what you think.
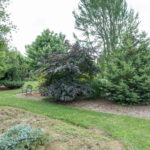
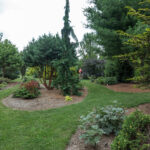
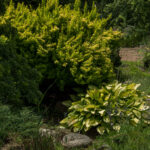
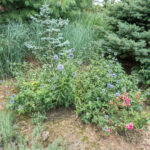
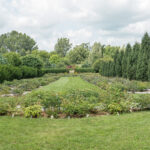
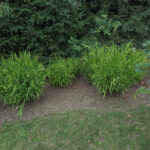
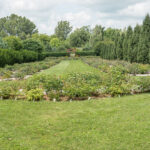
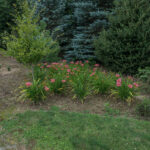
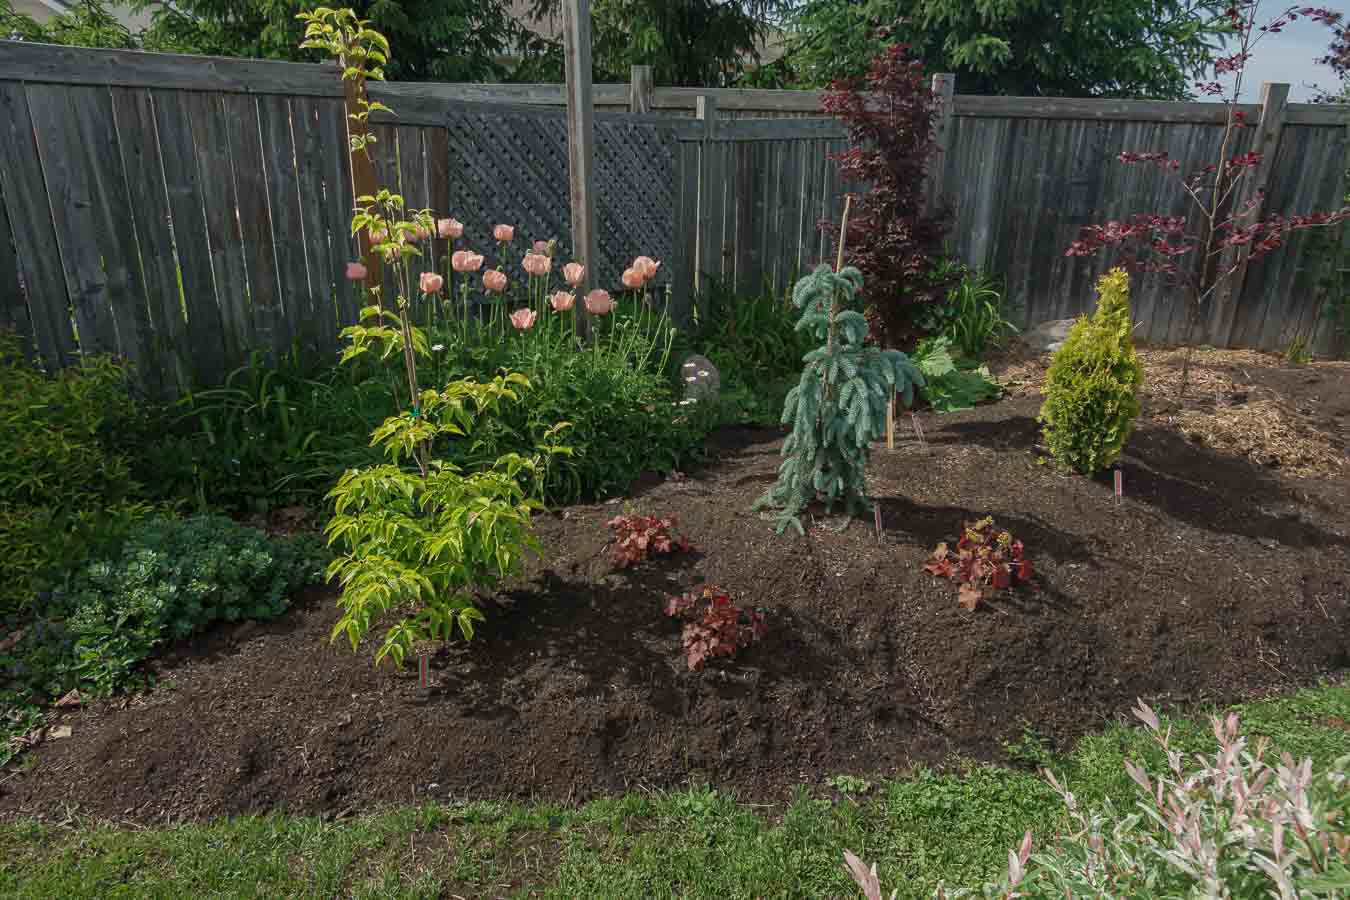
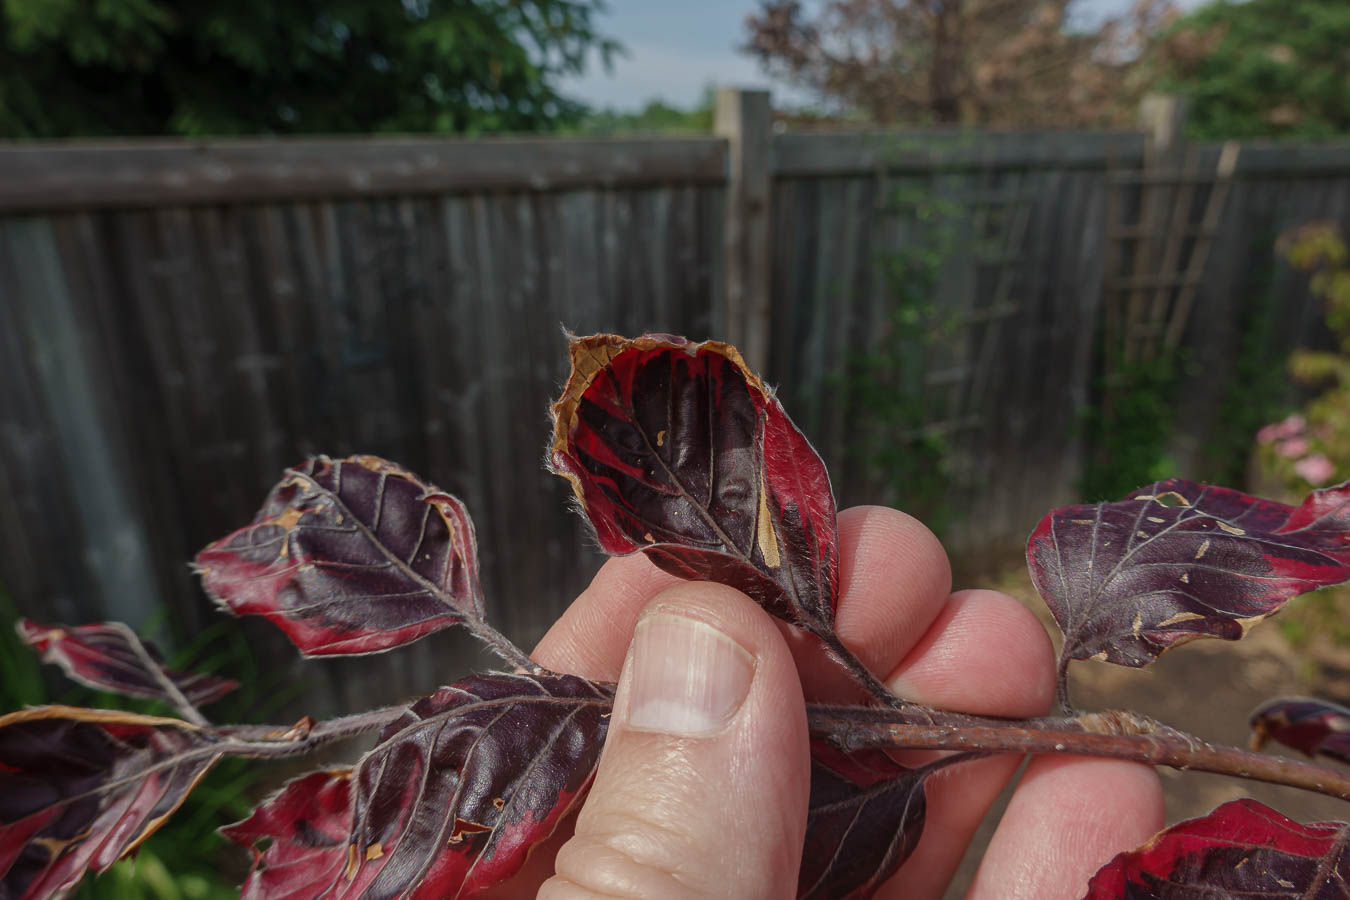
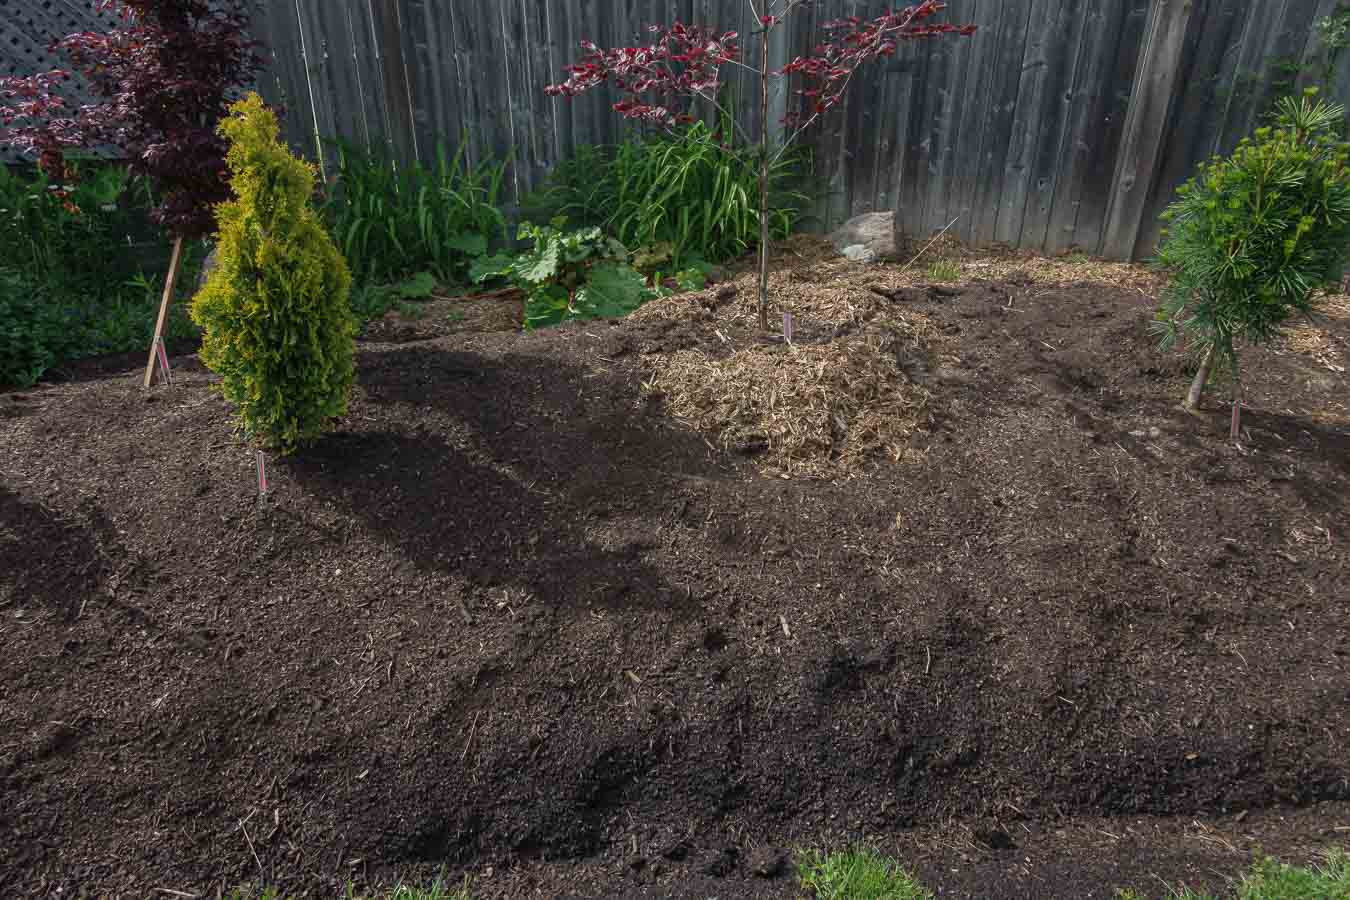
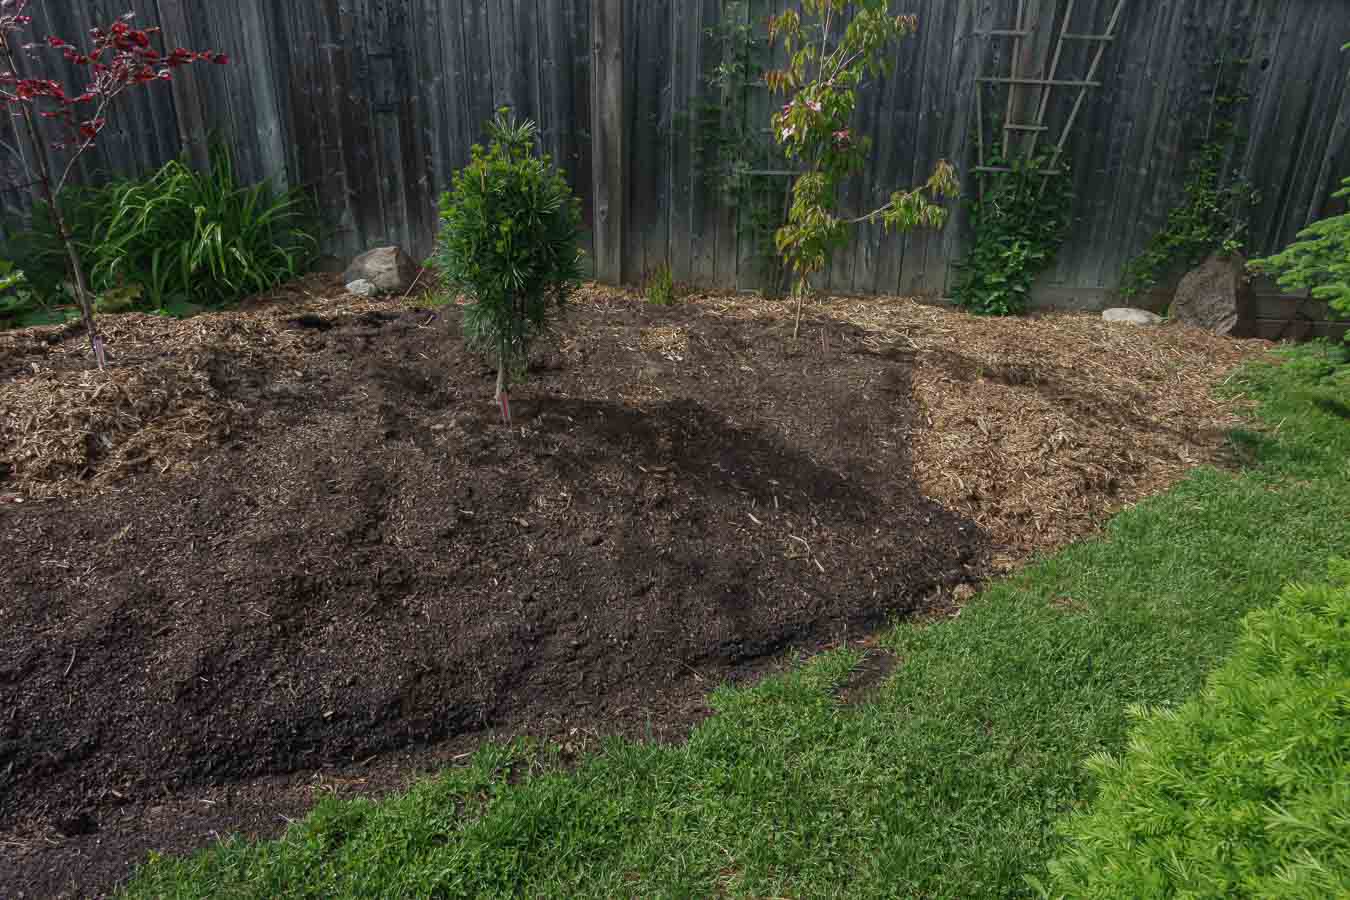
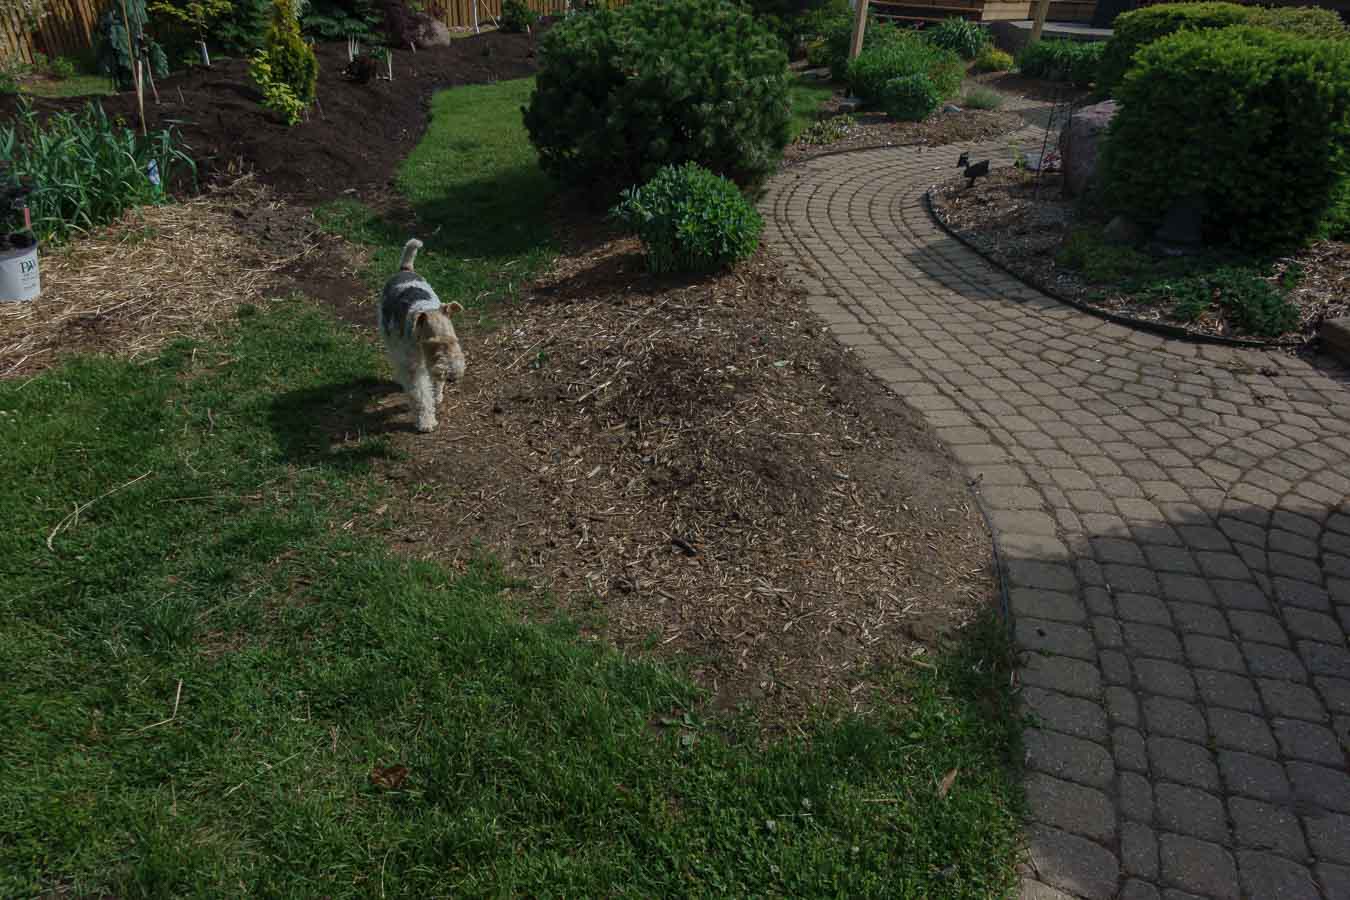
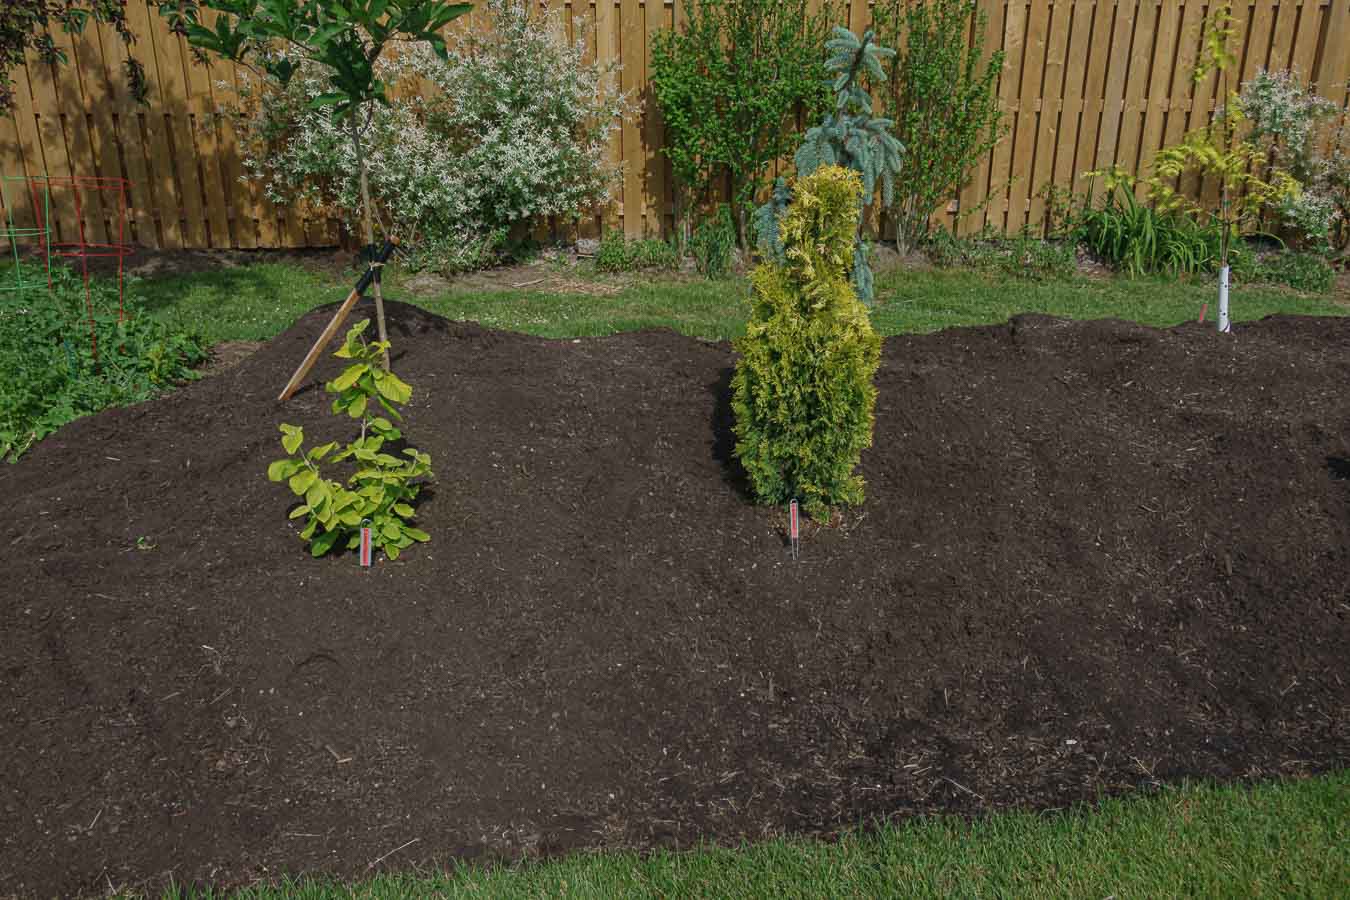
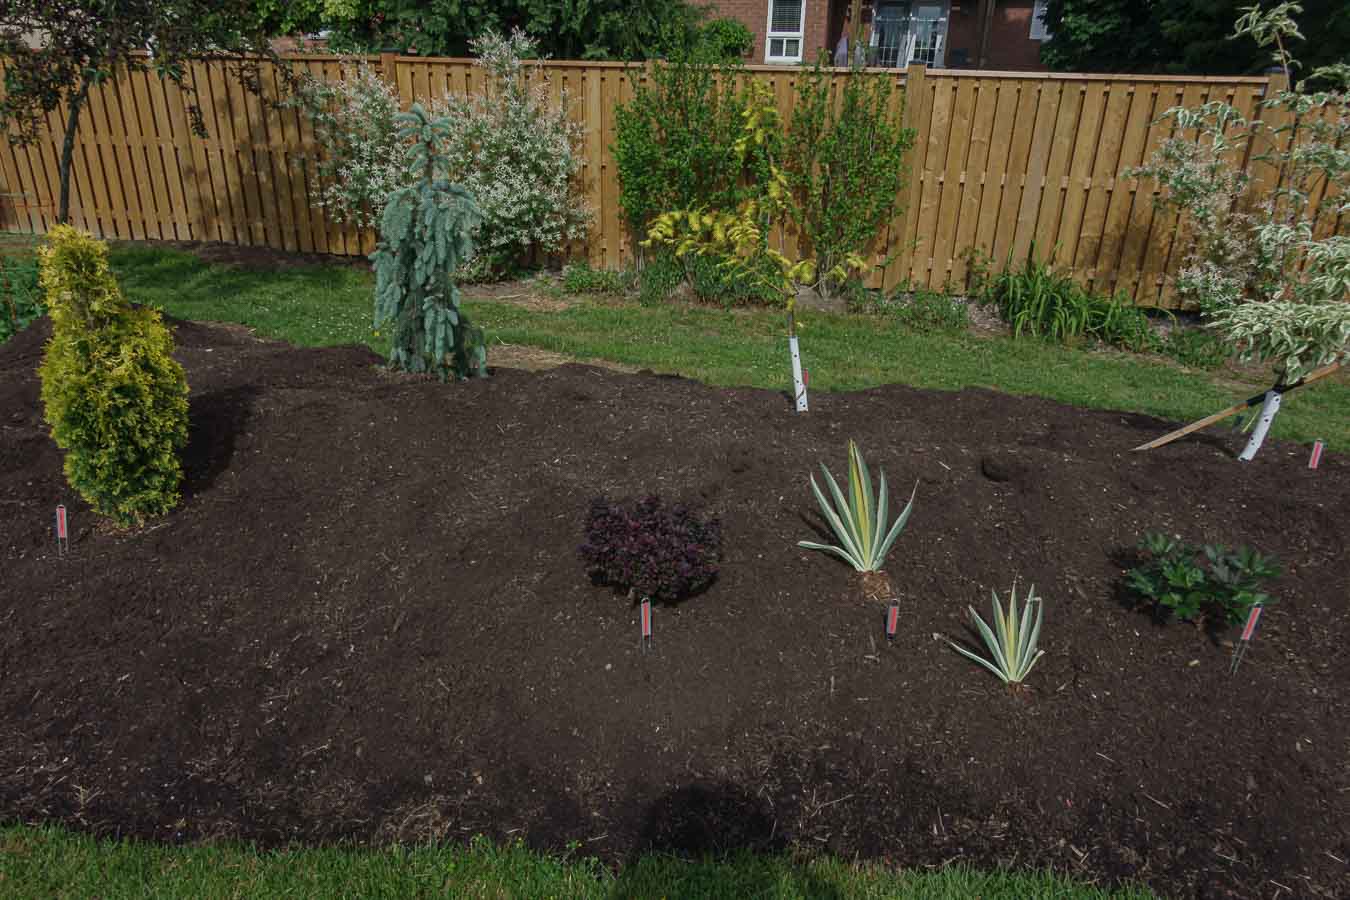
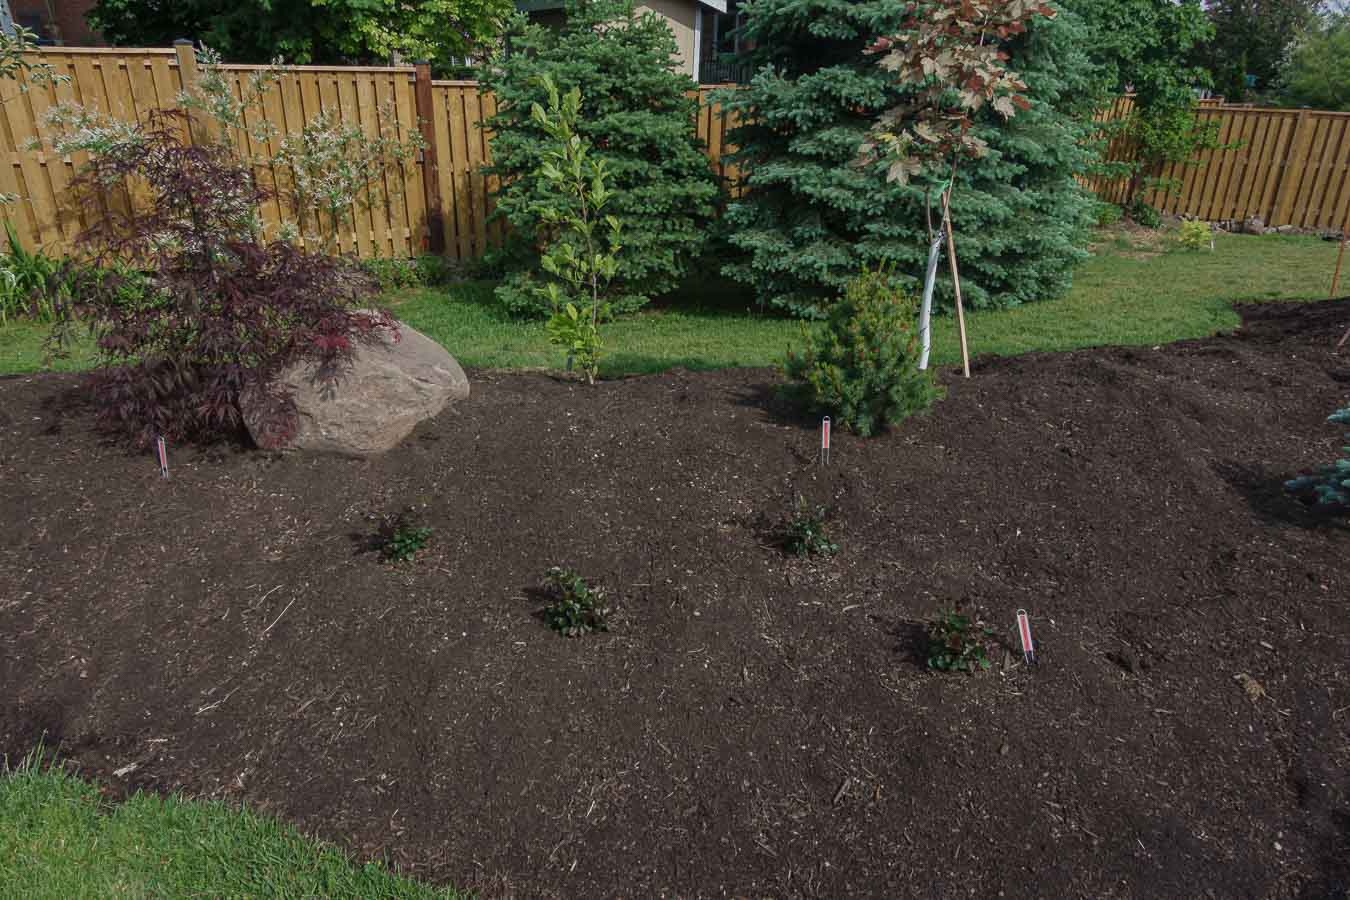
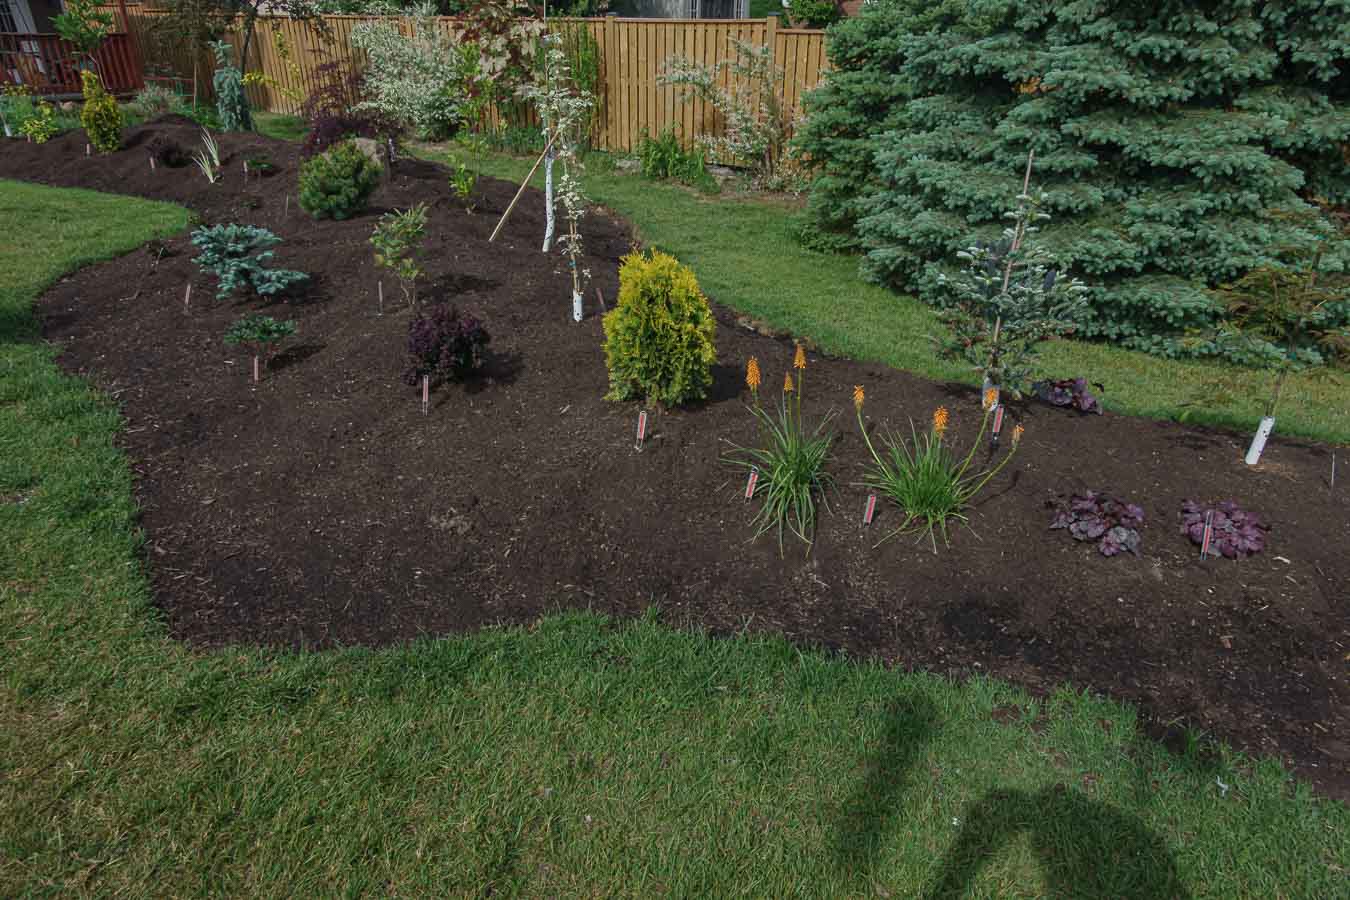
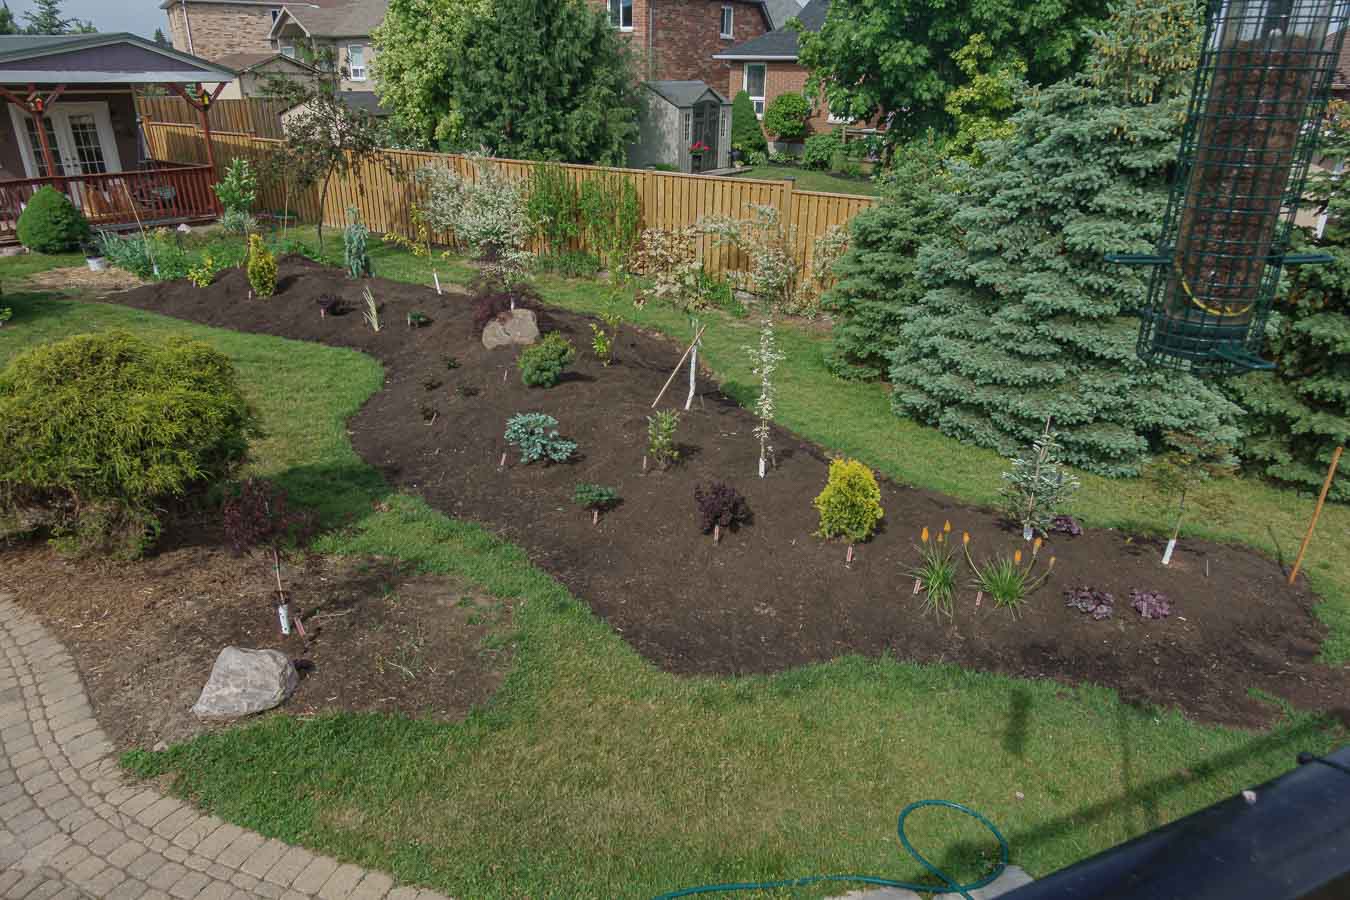
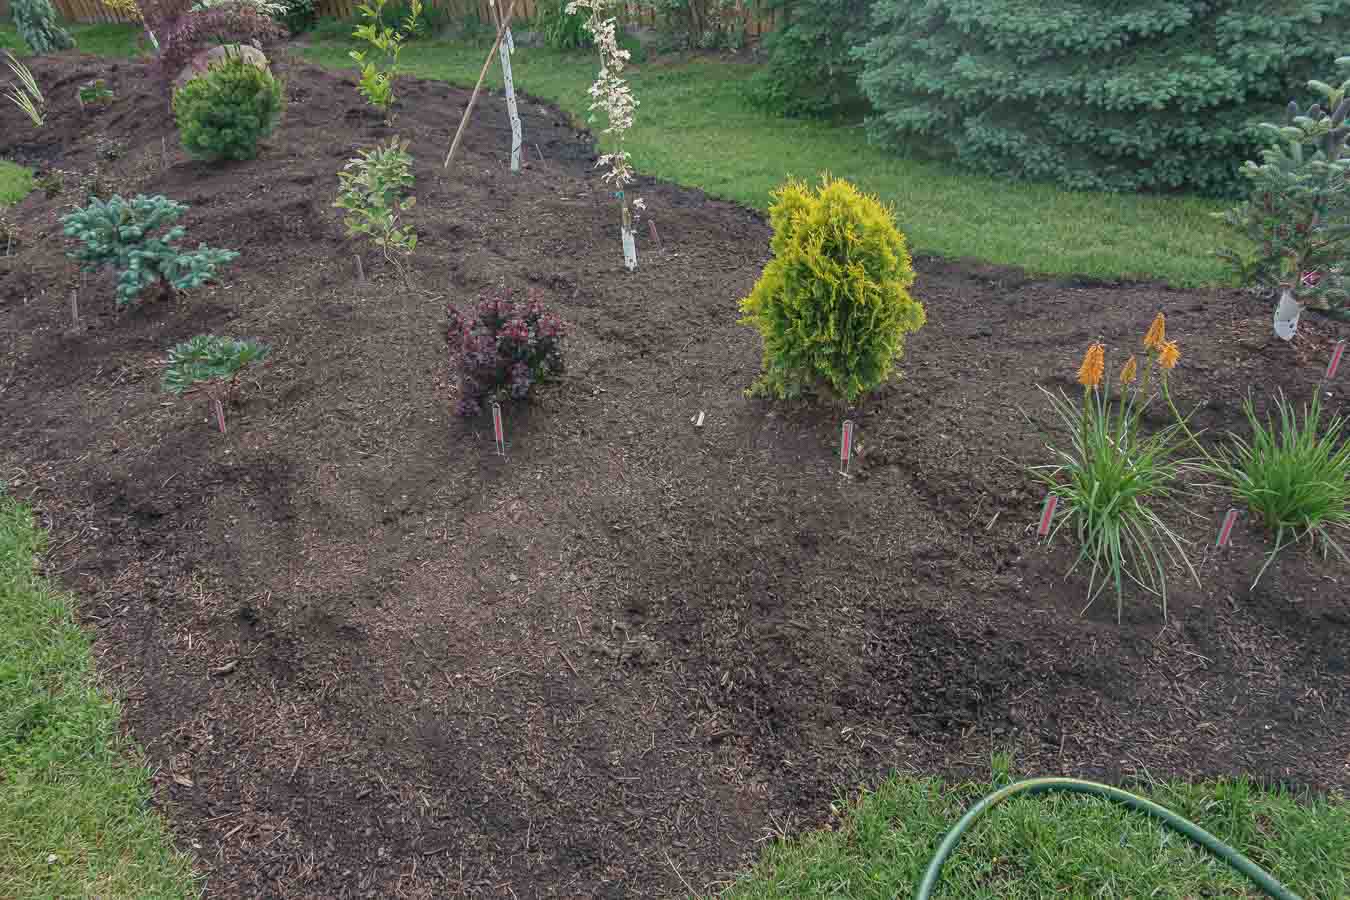
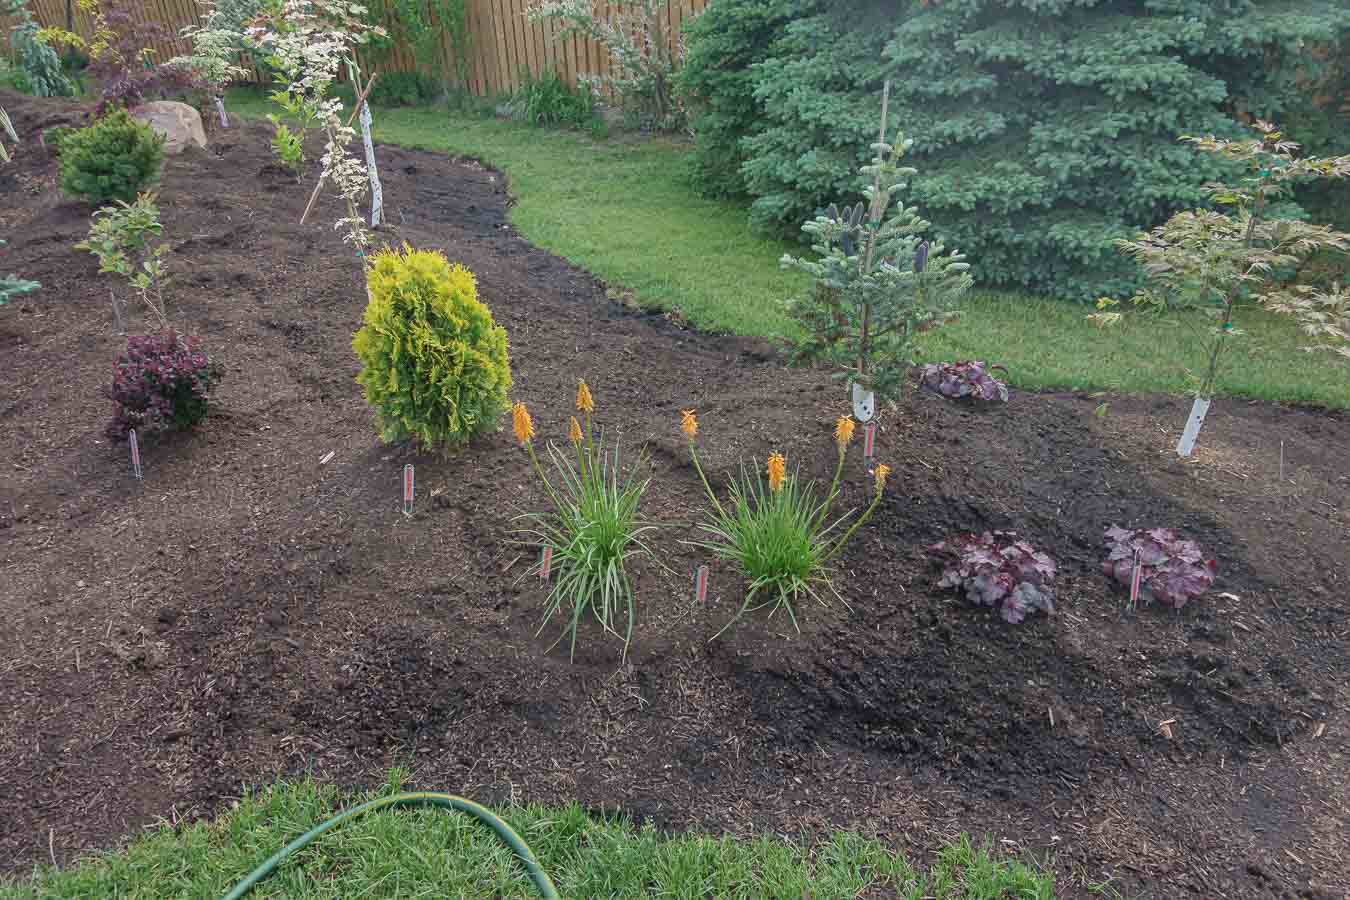
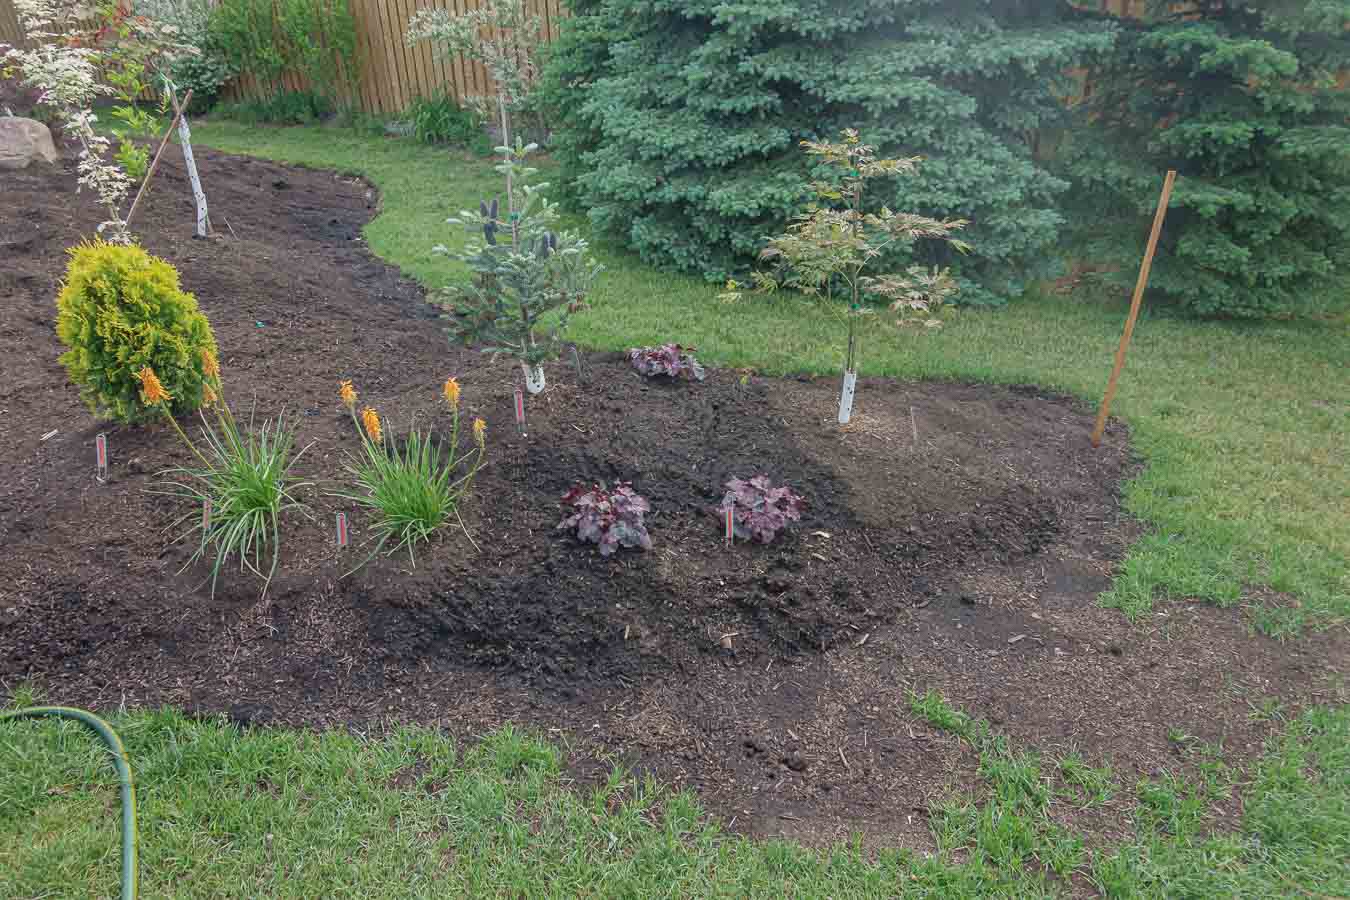
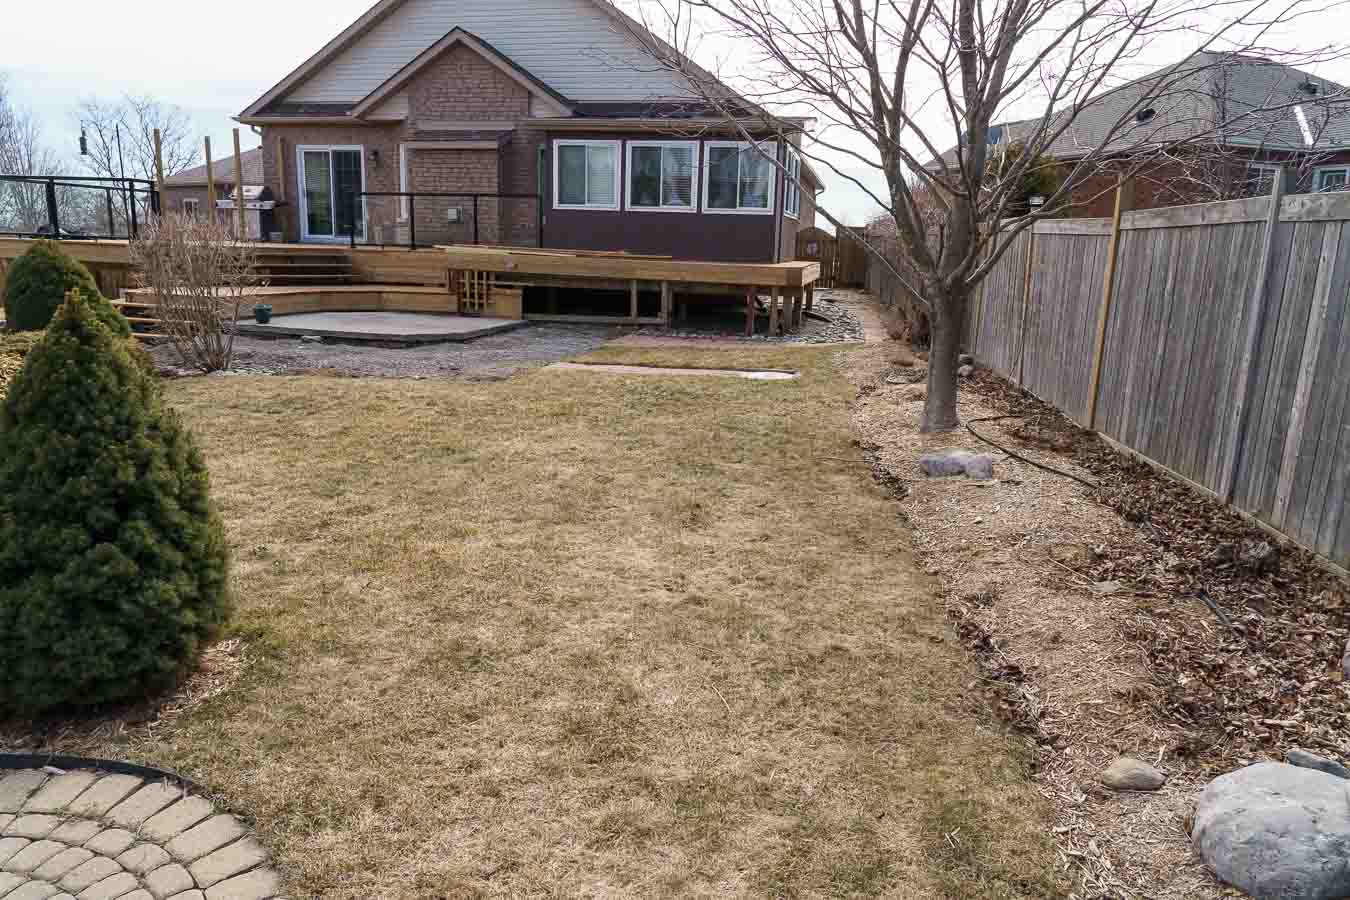
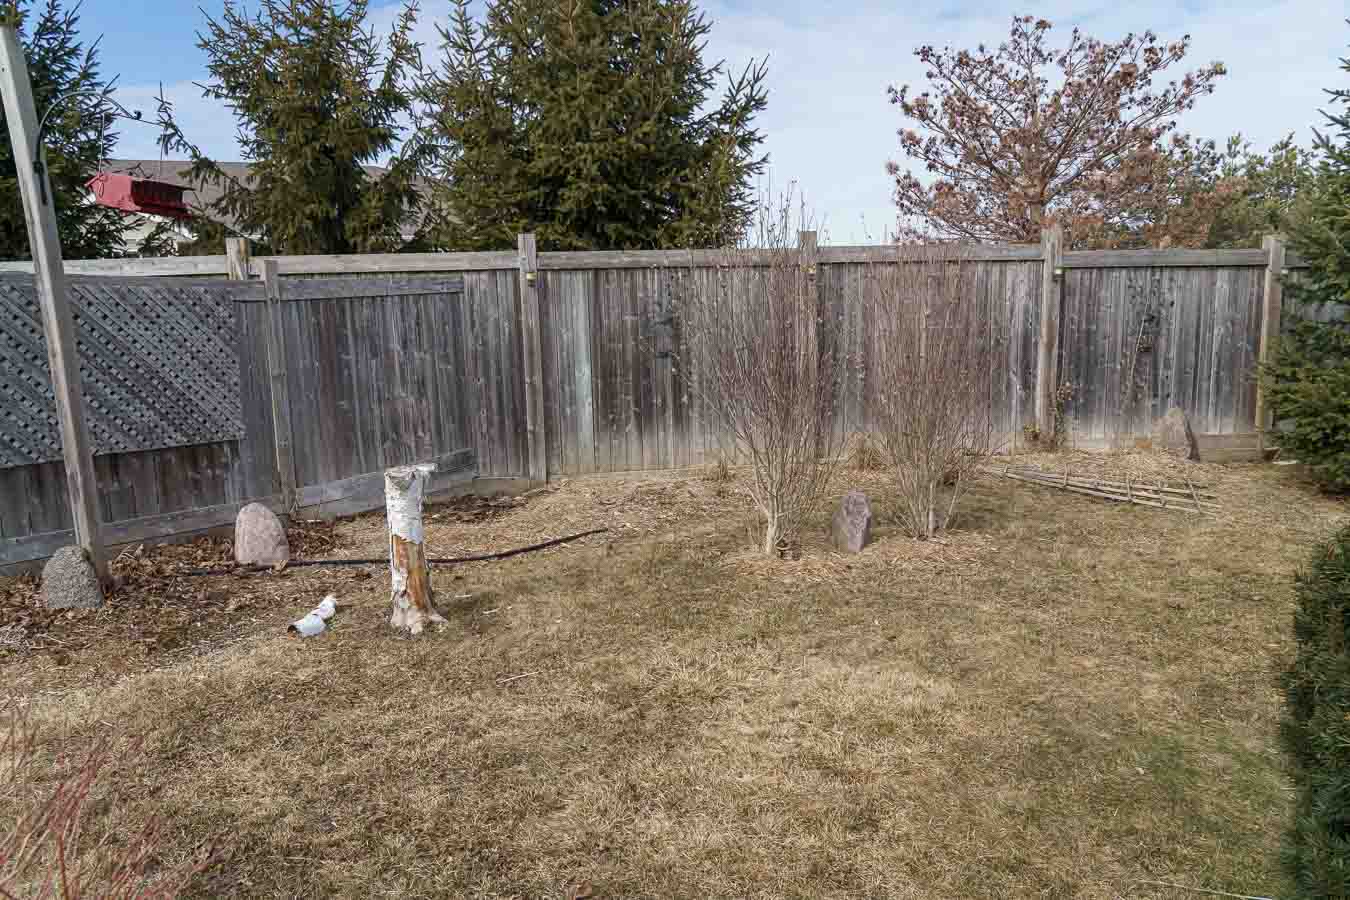
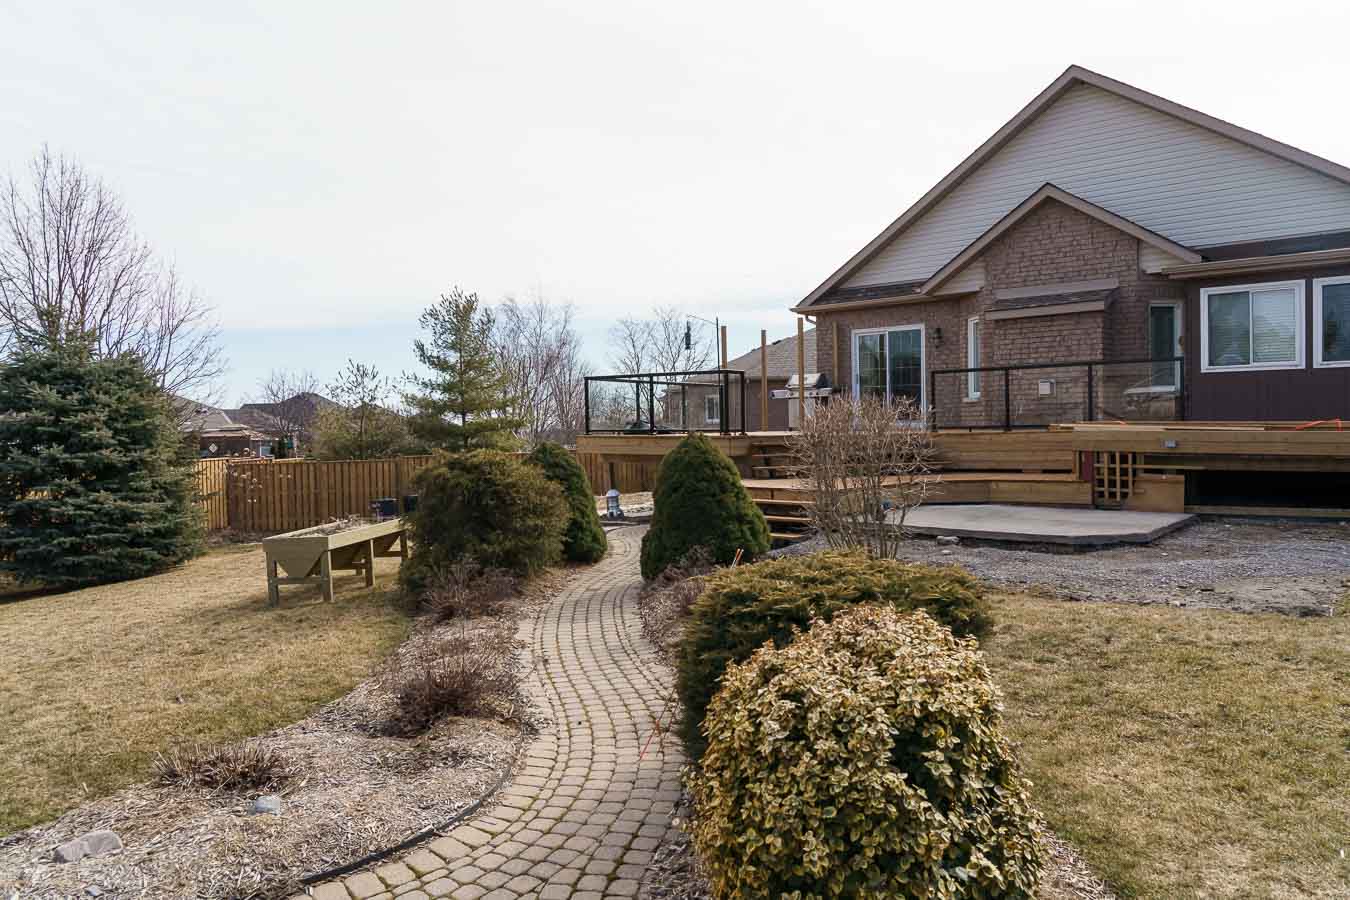
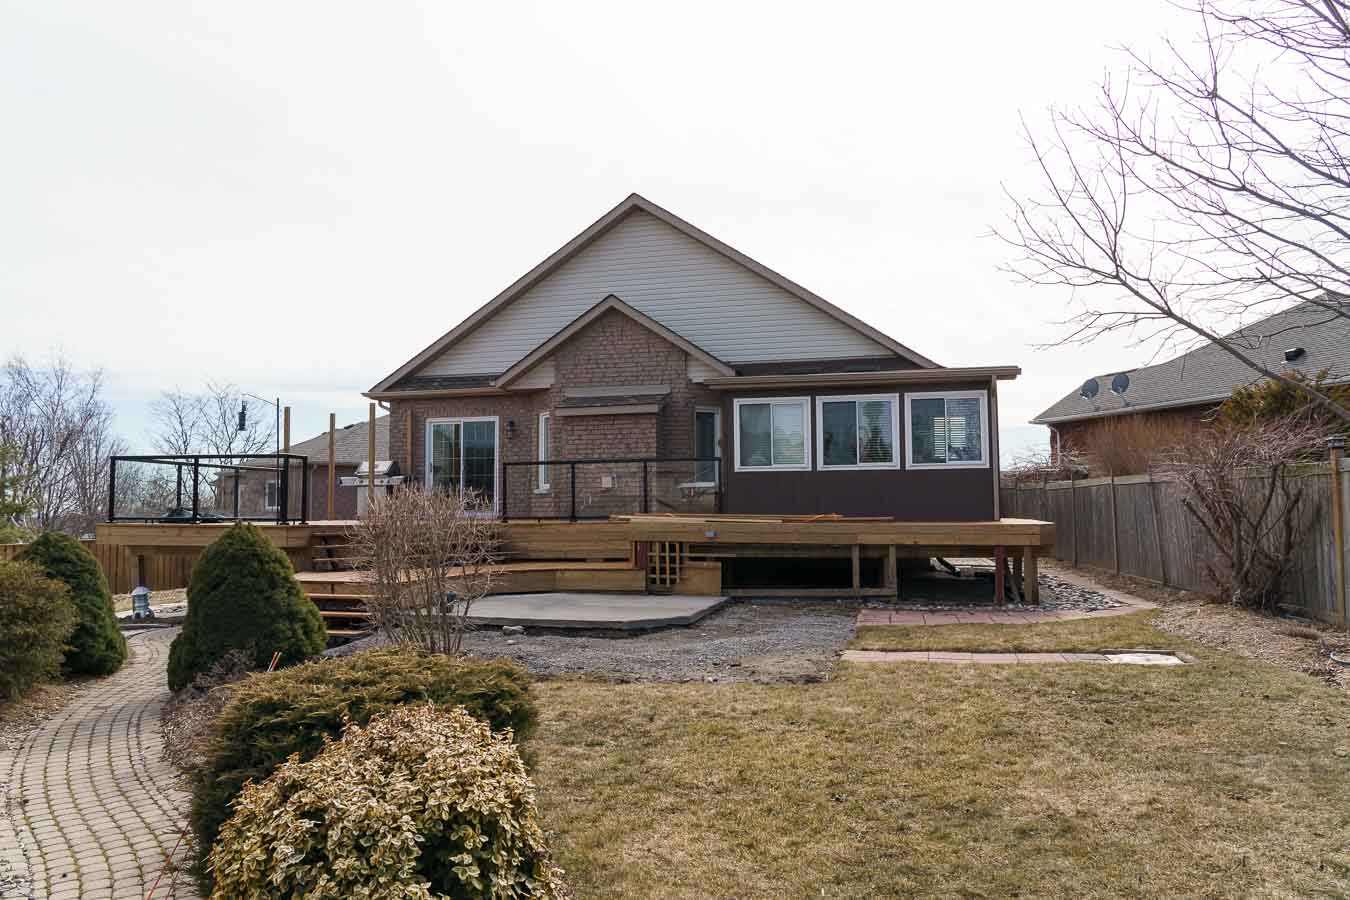
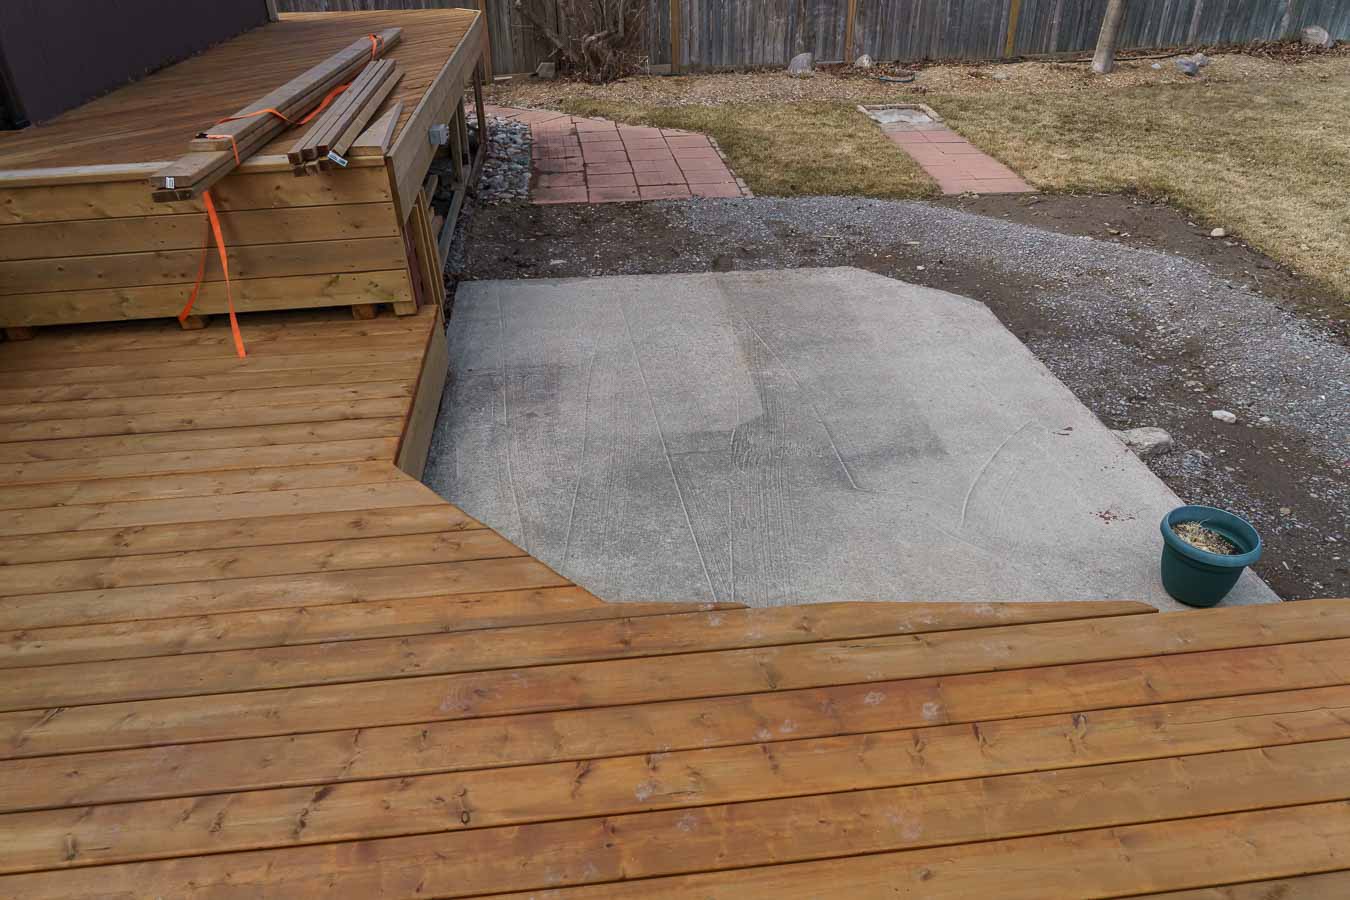
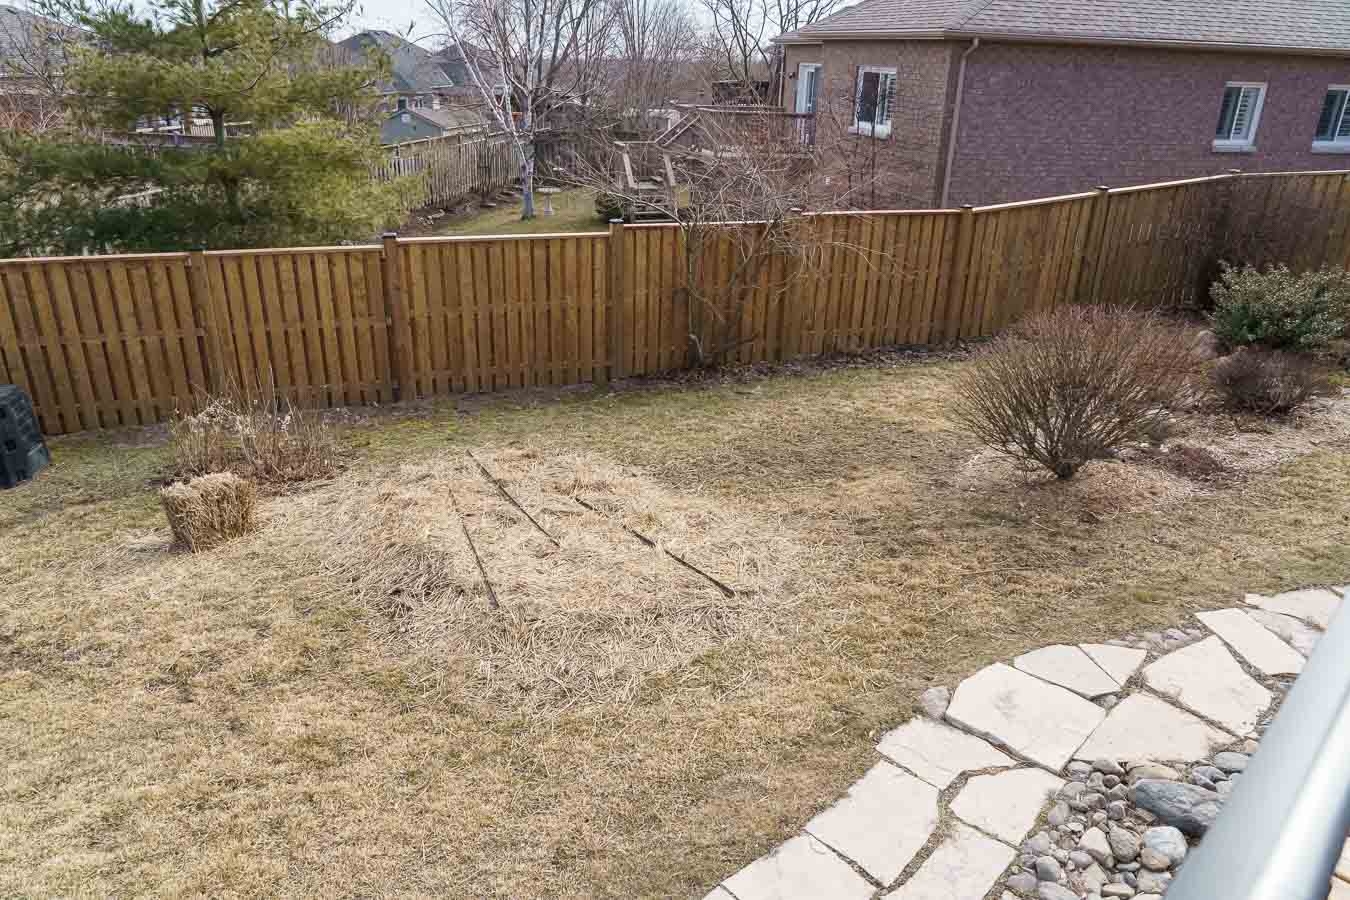
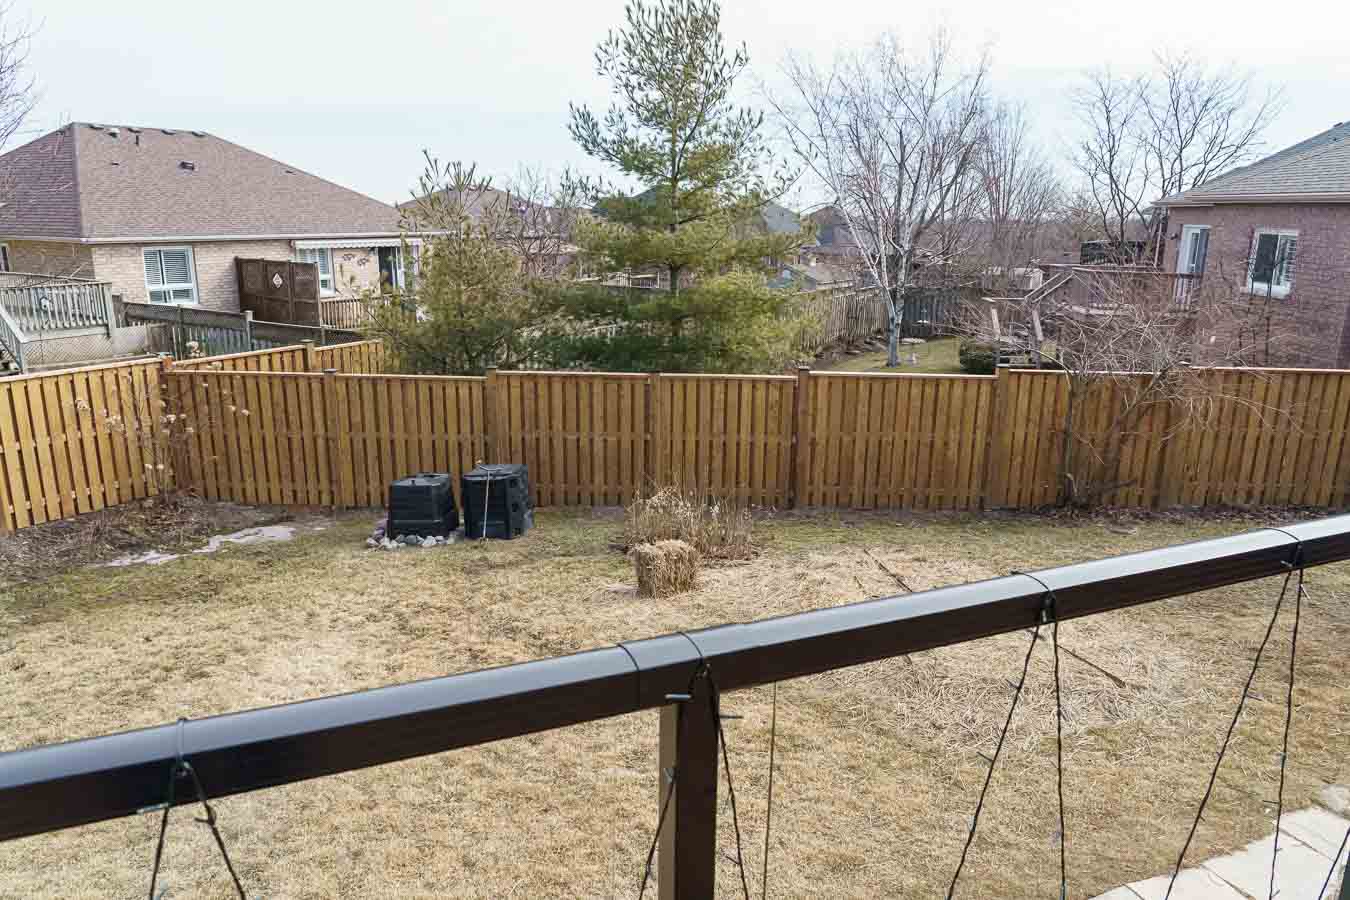
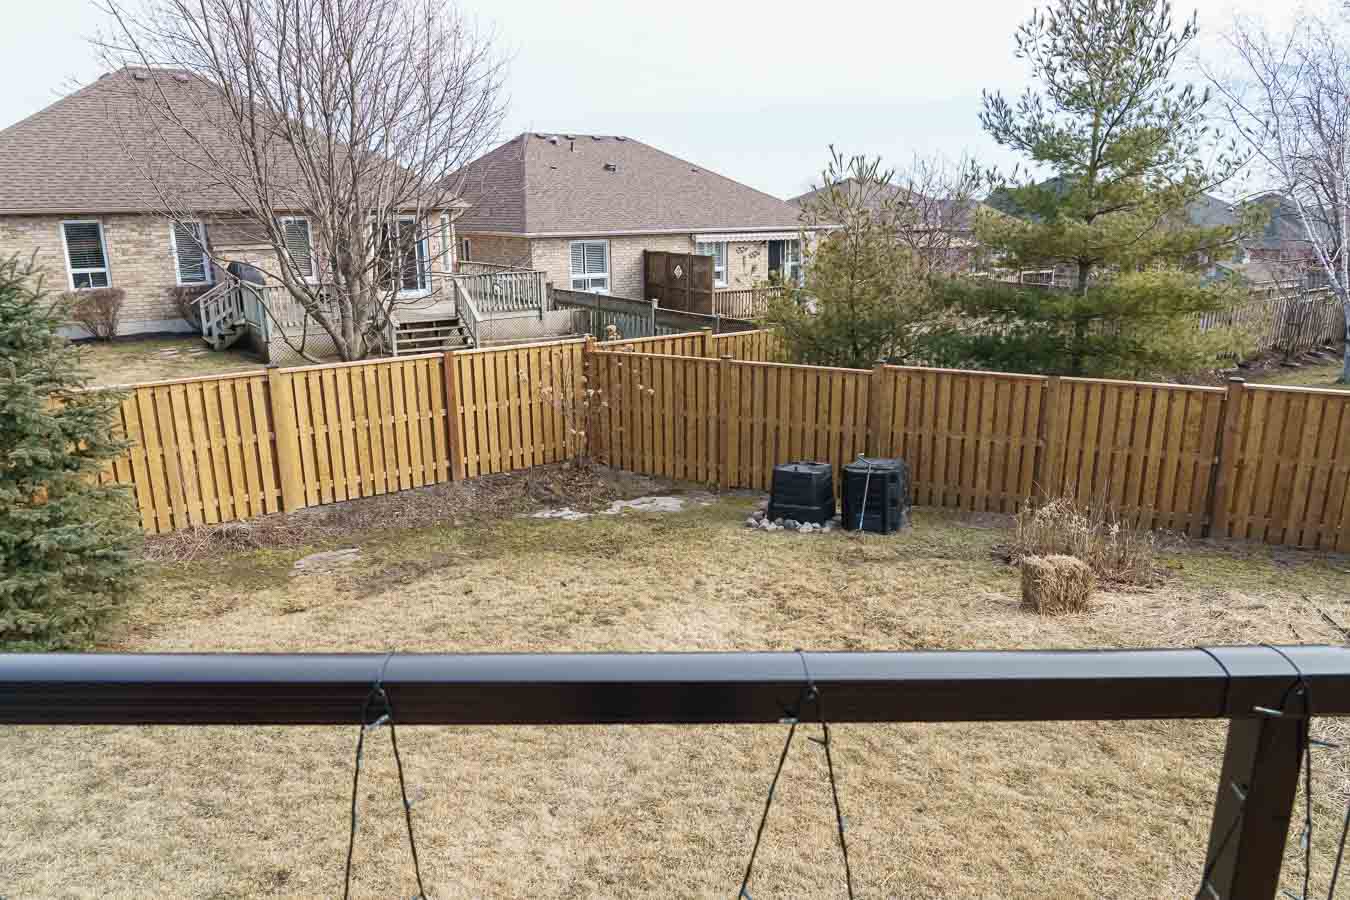
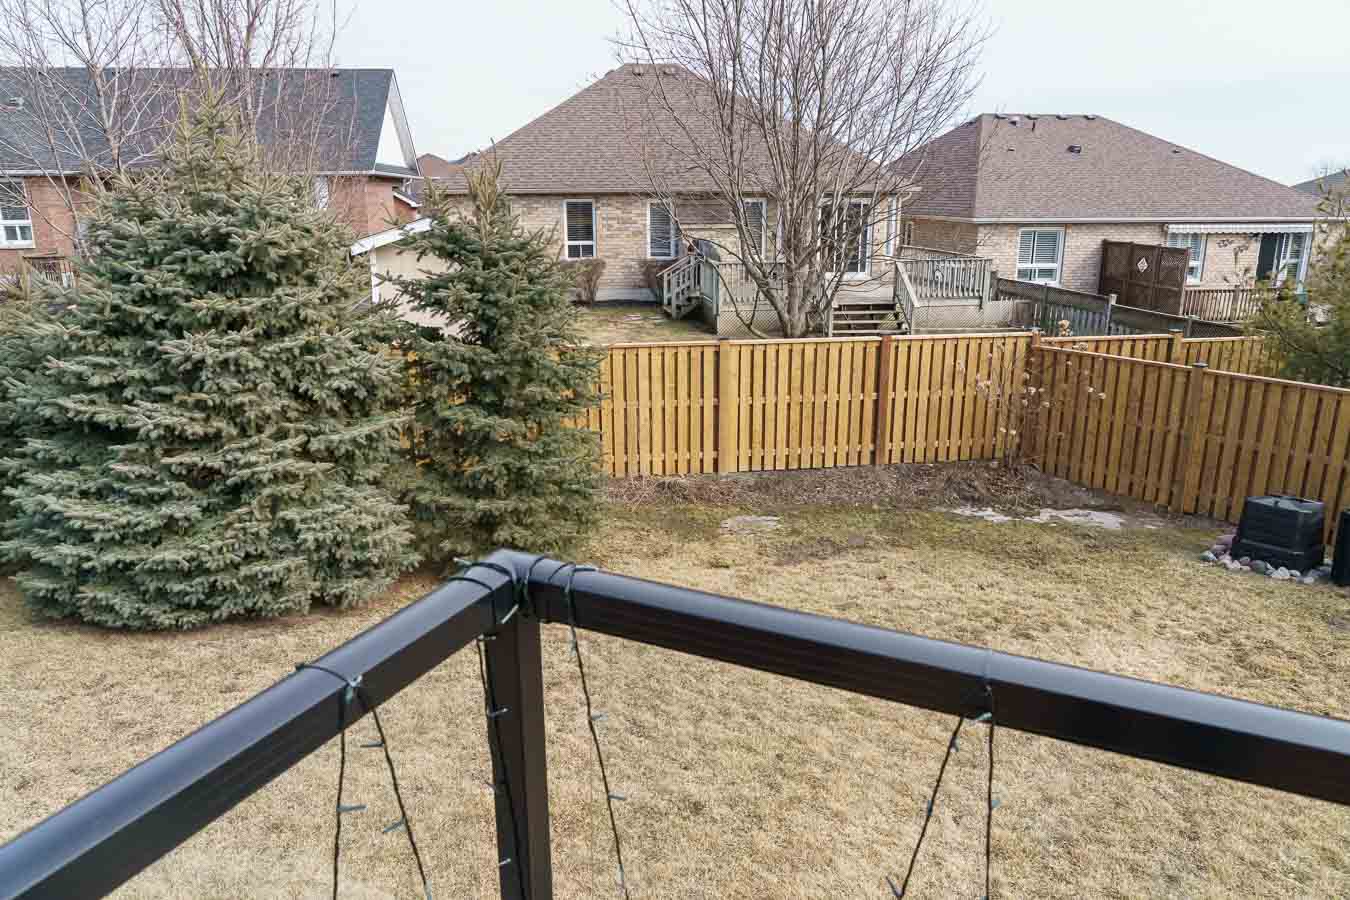
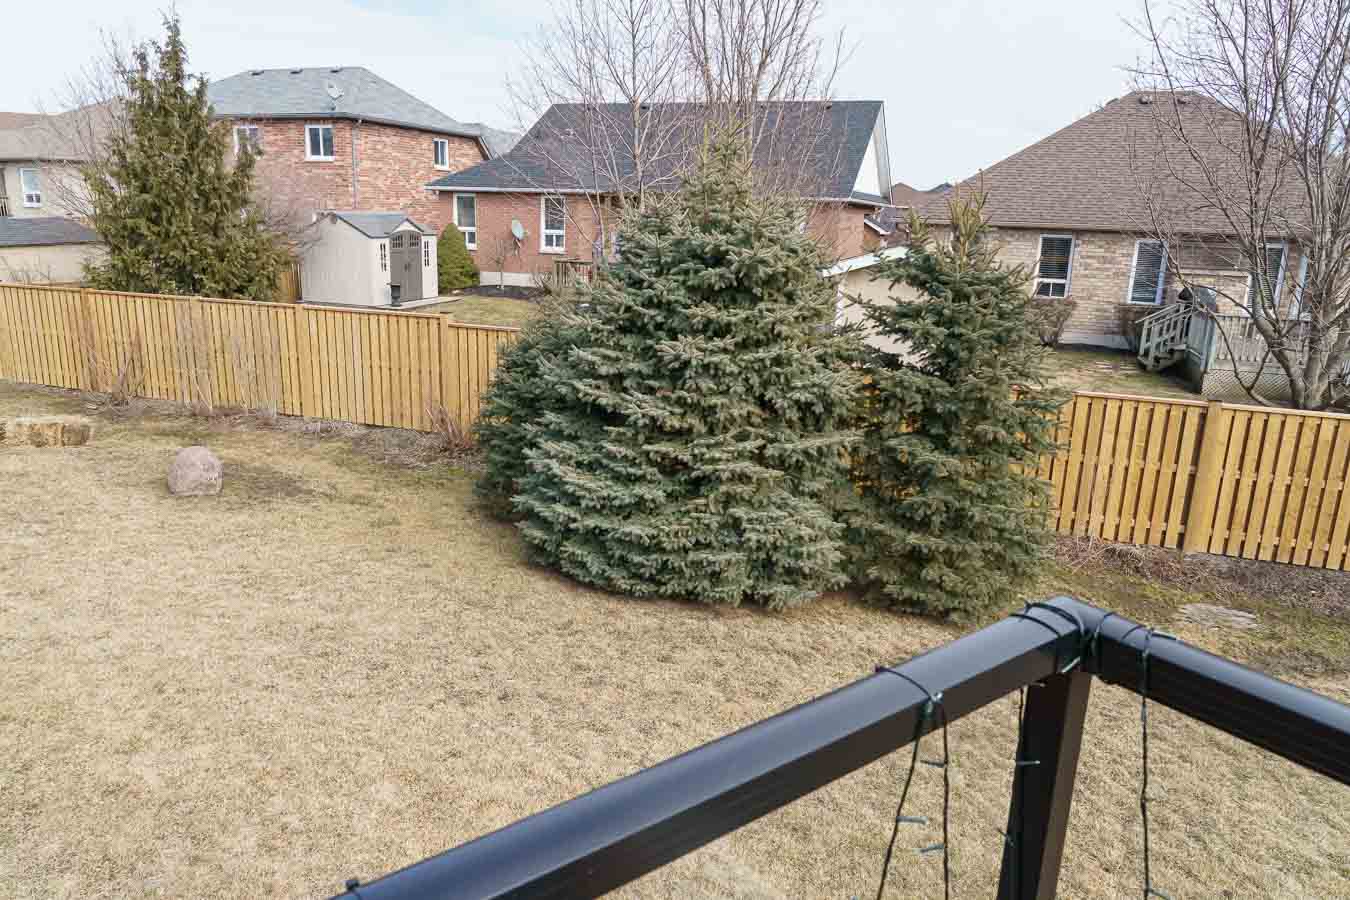
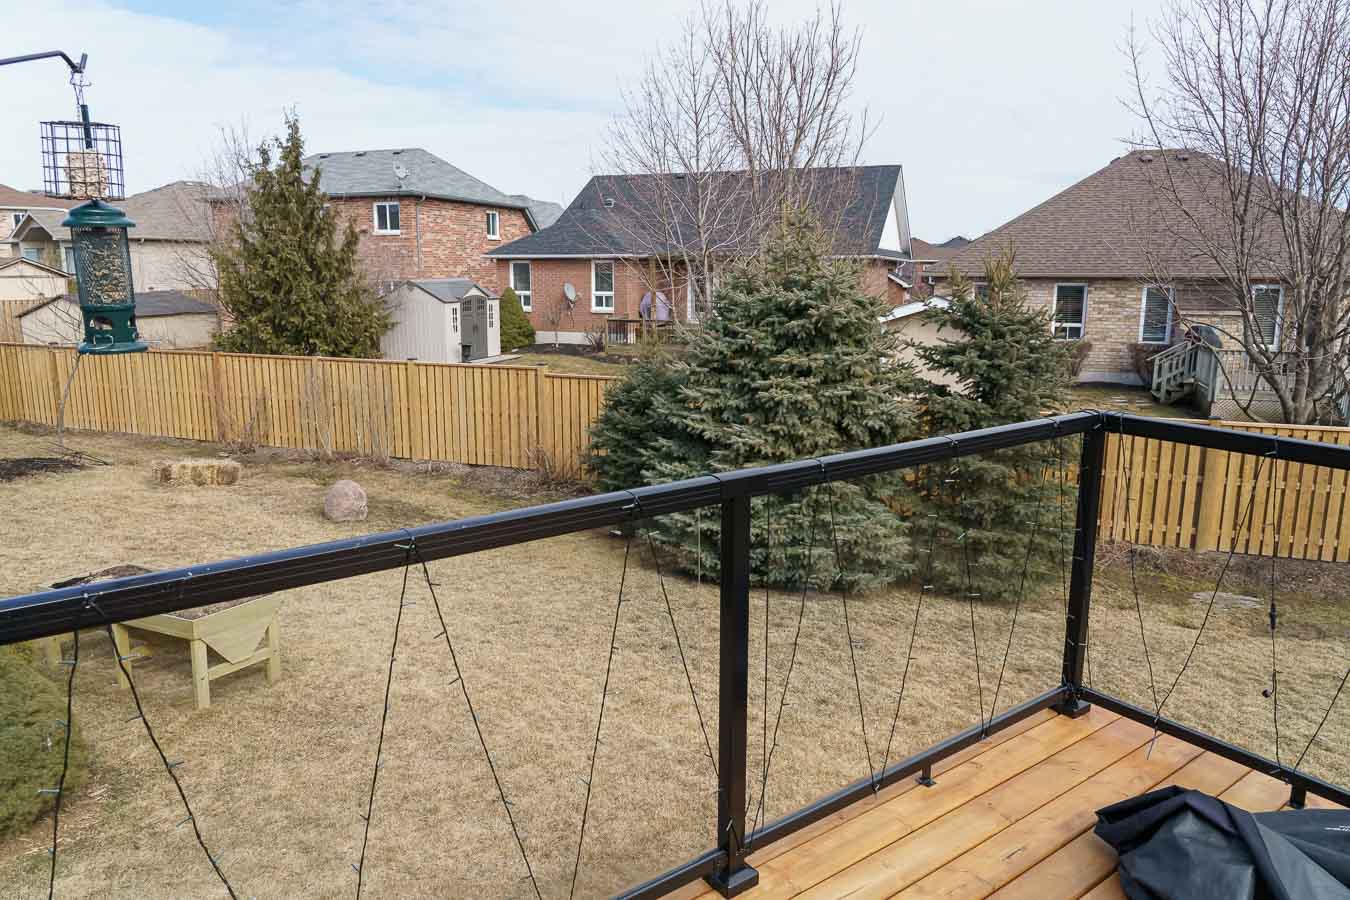
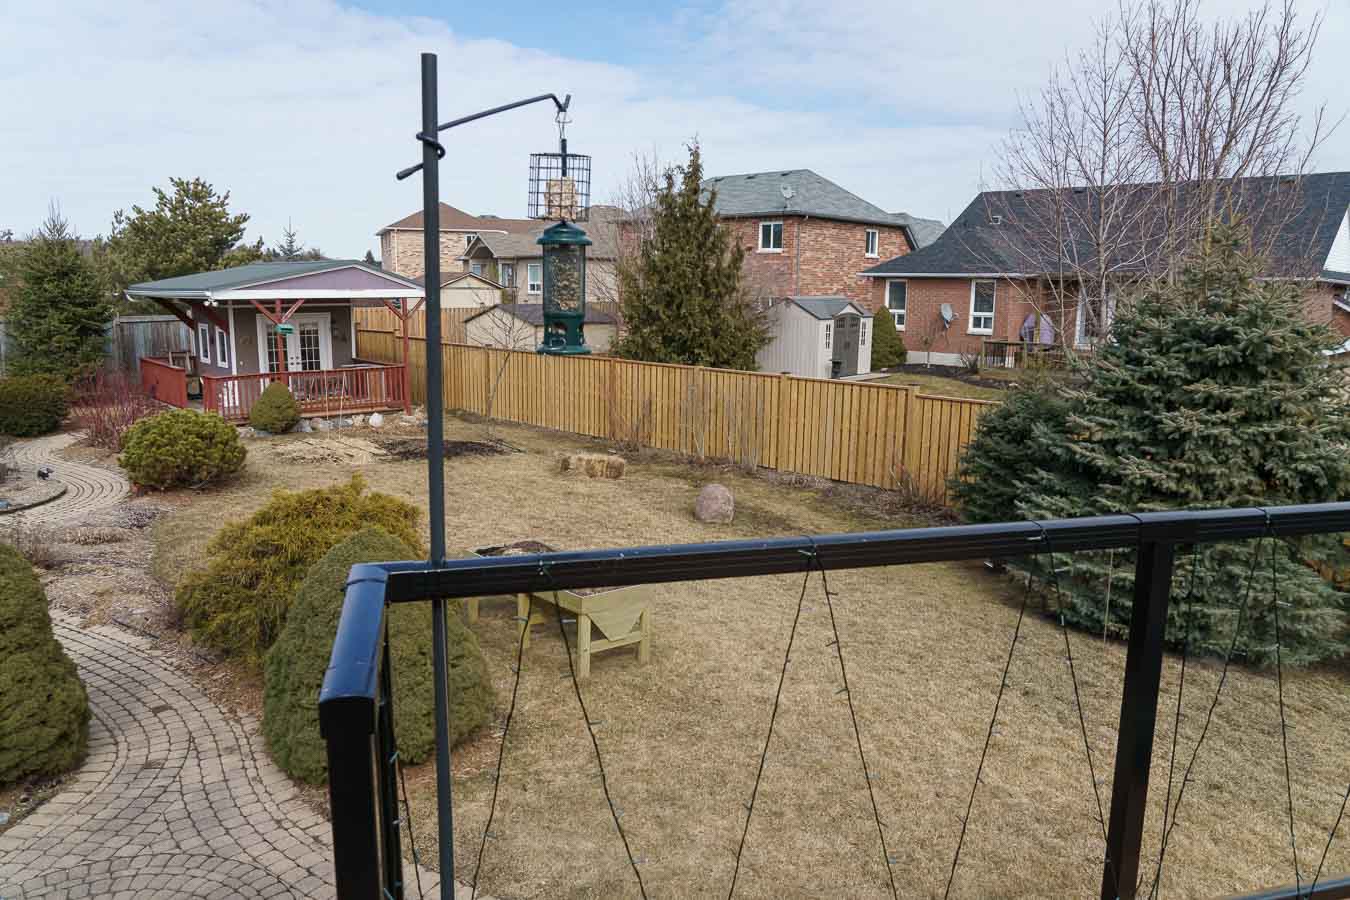
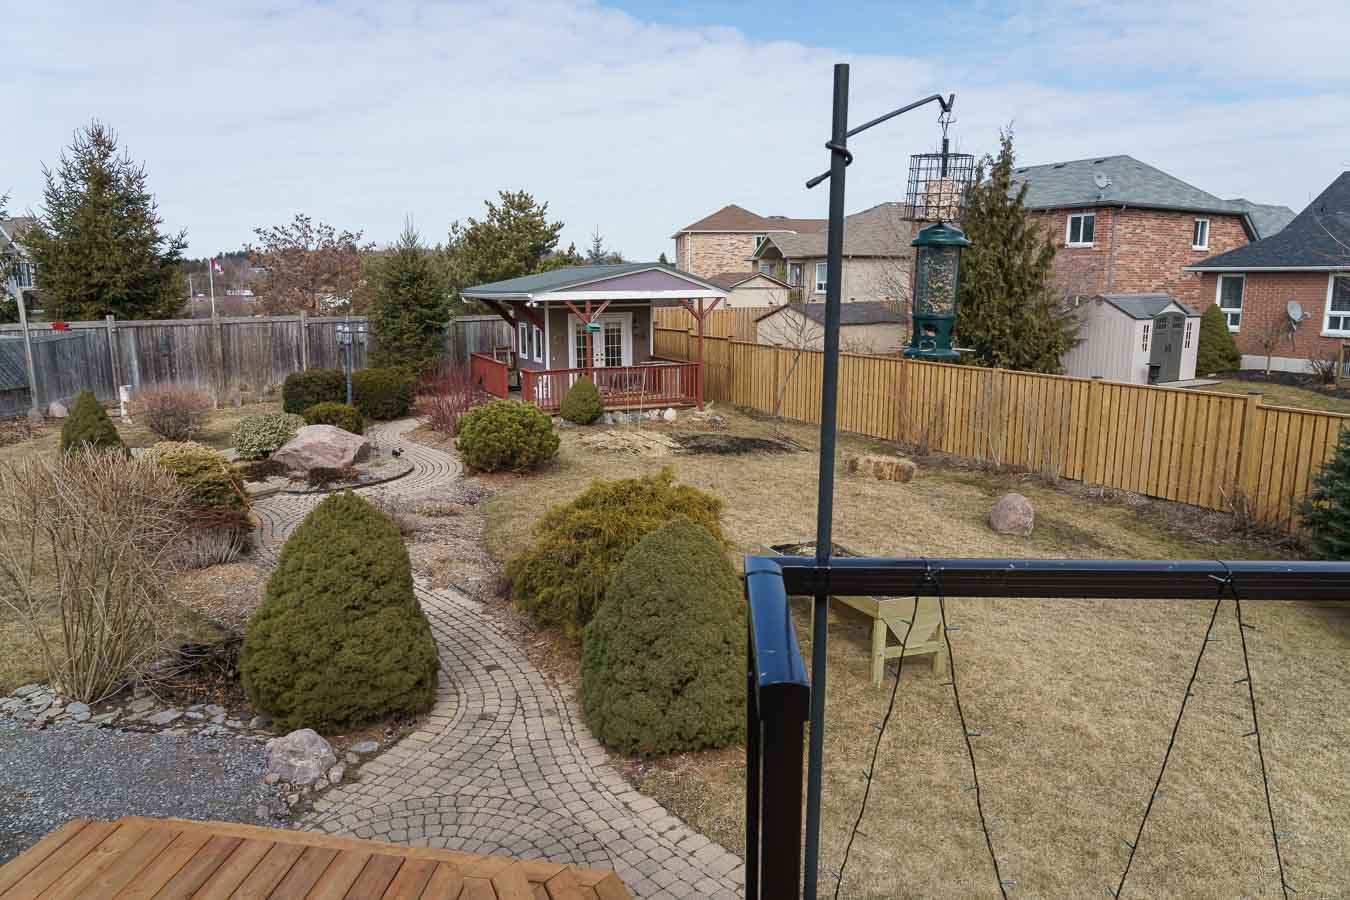
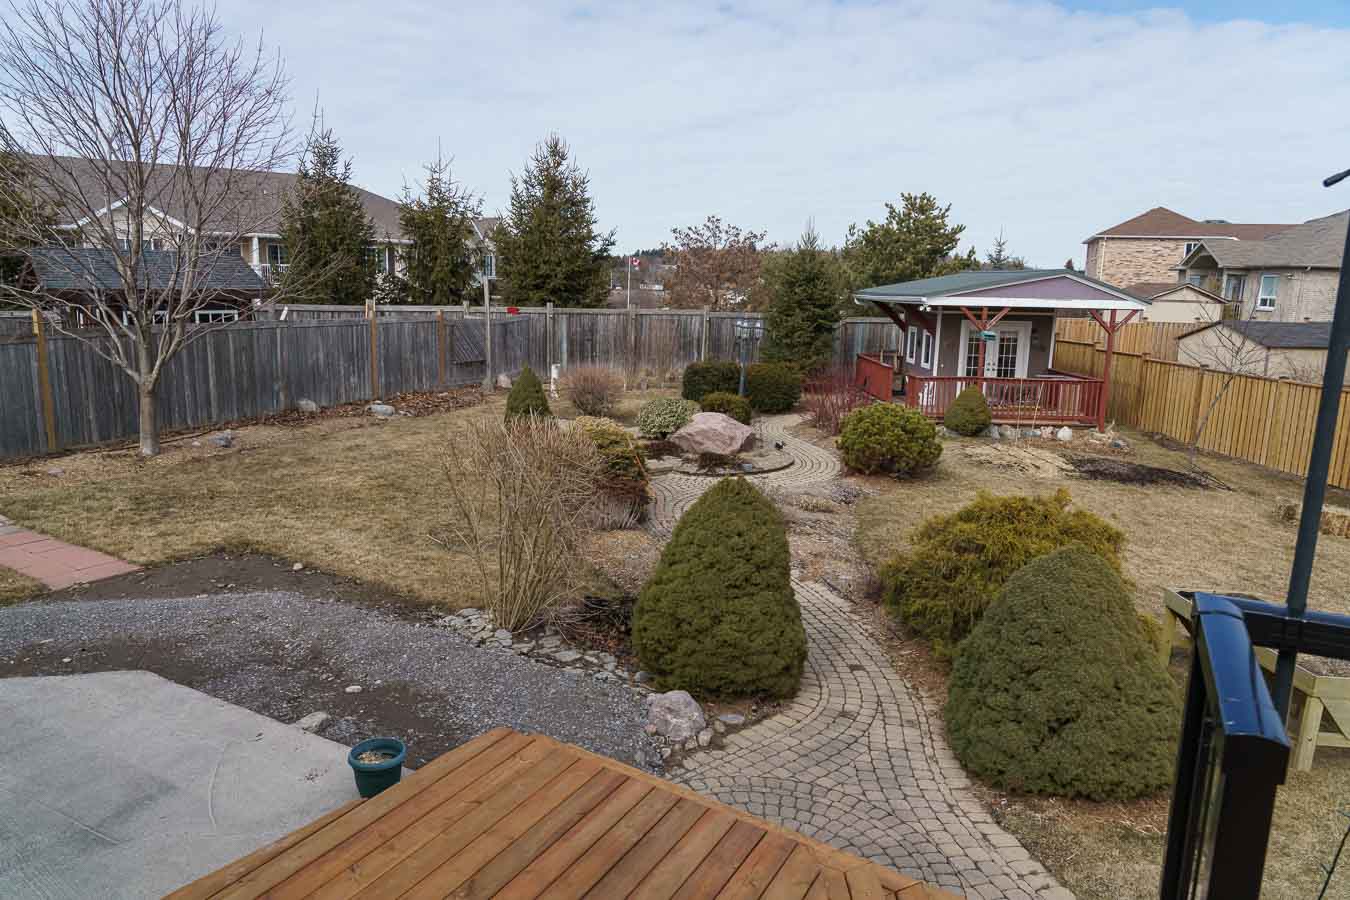
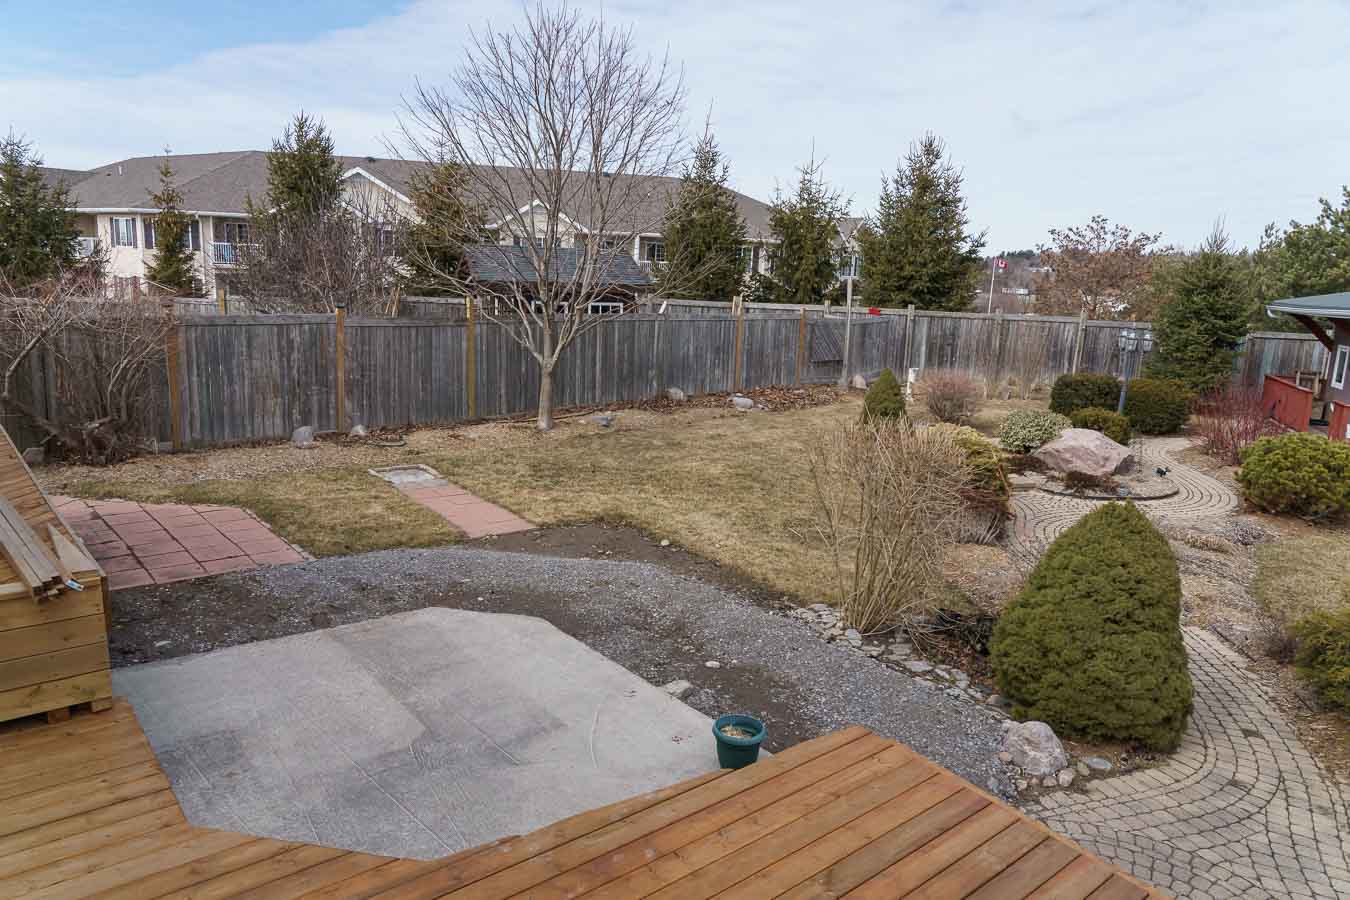
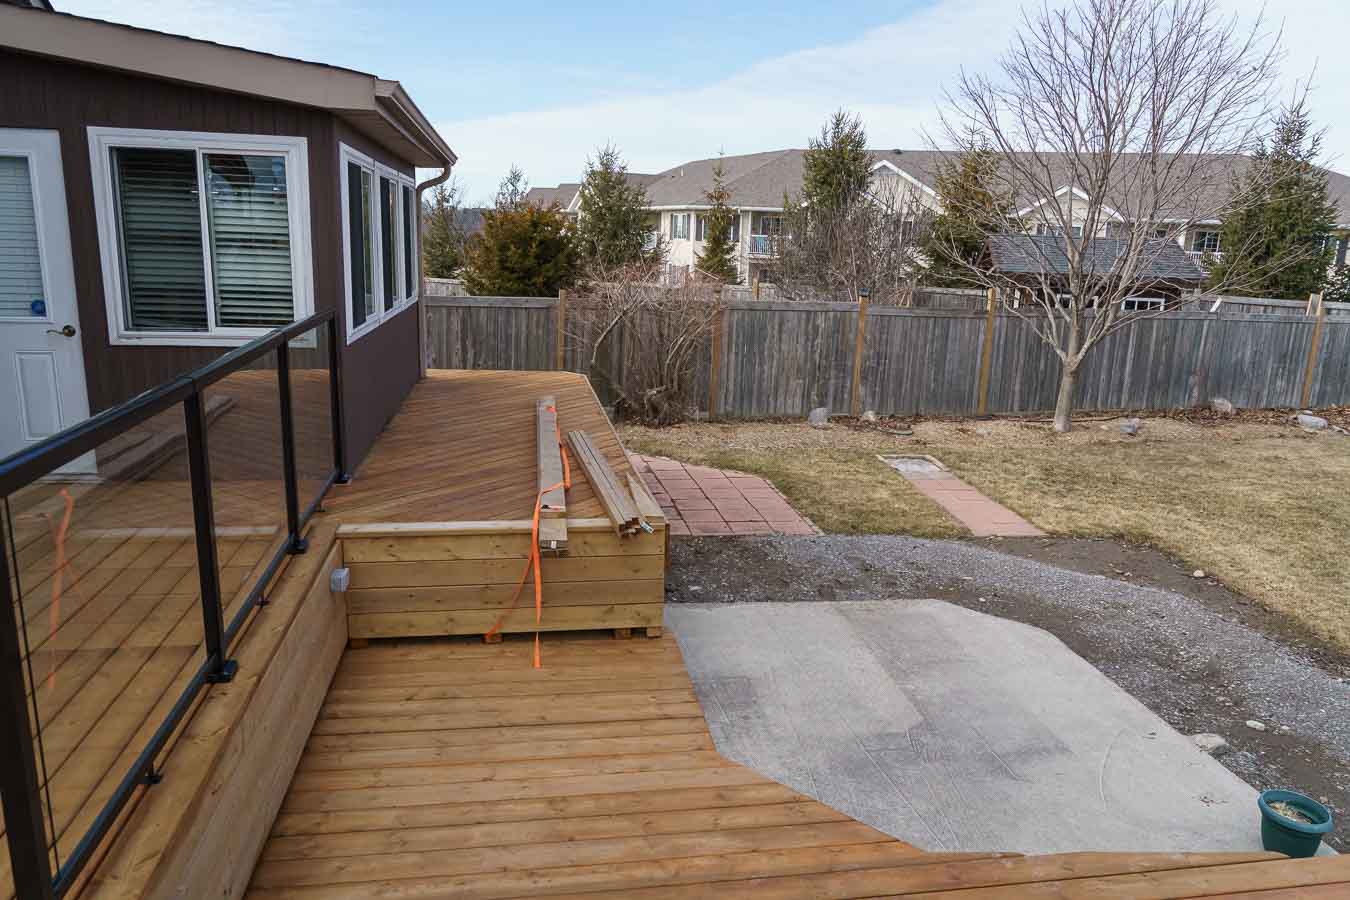
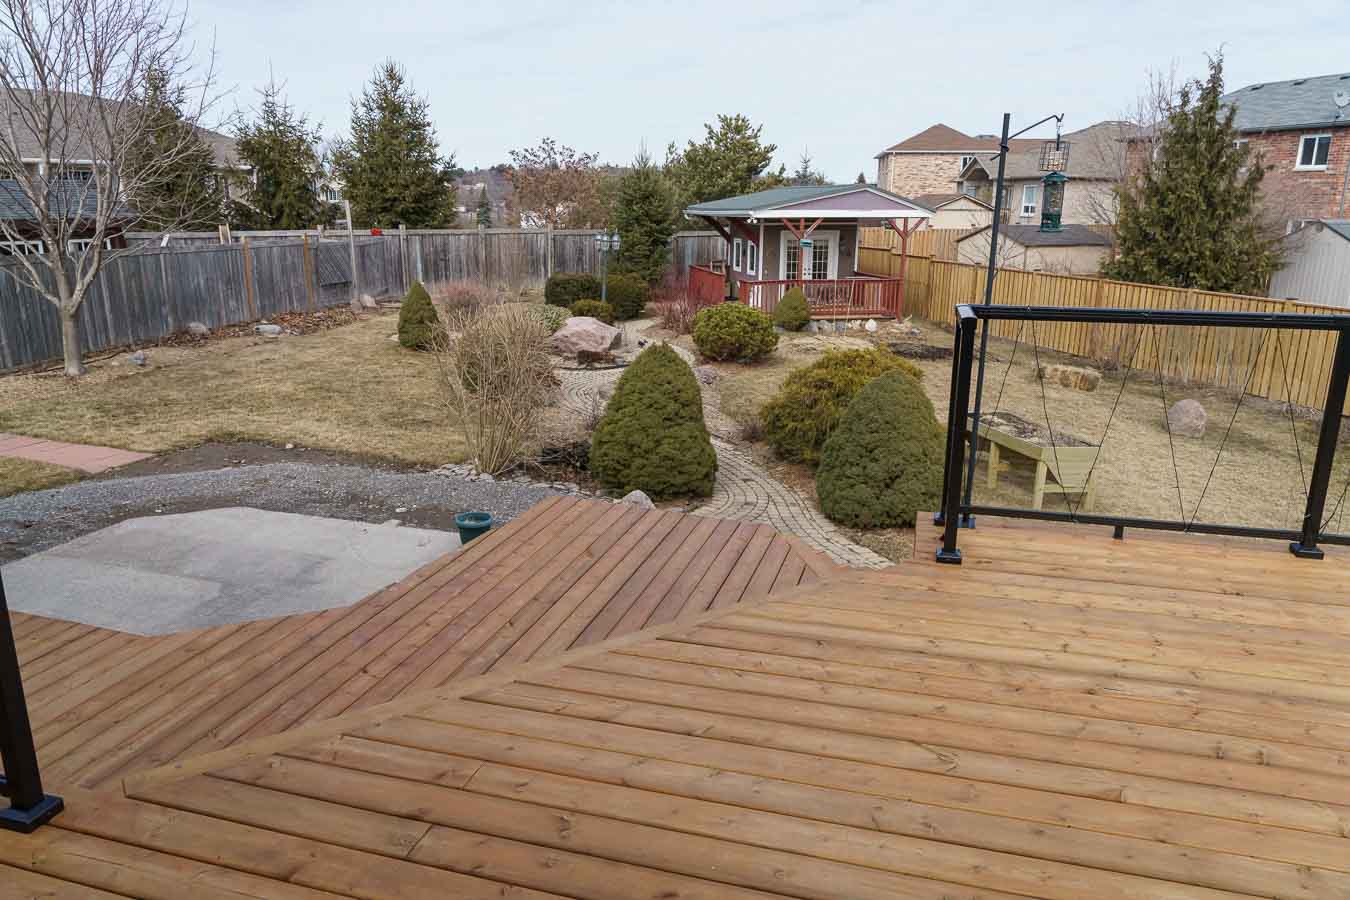
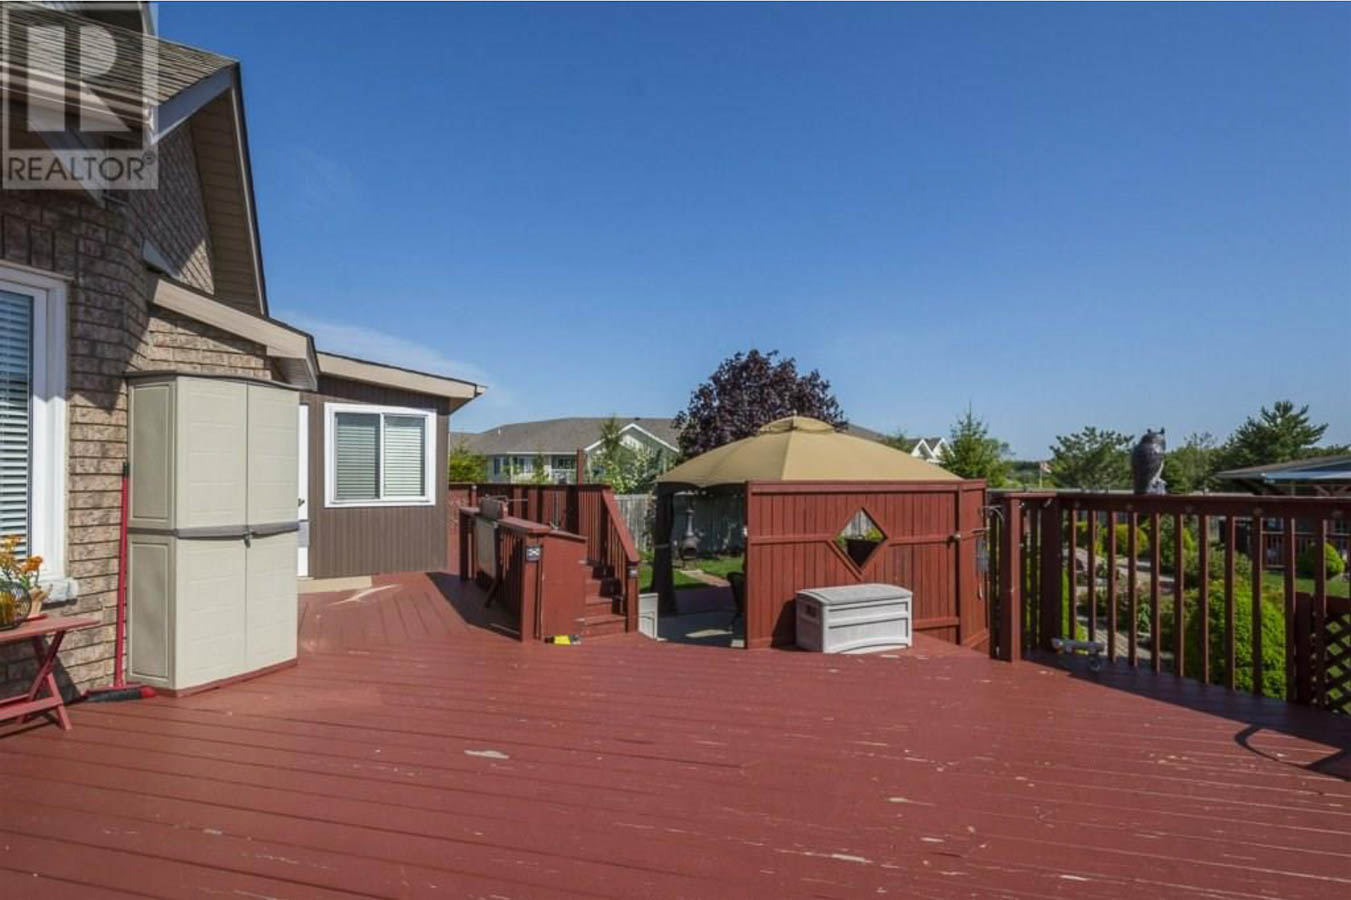
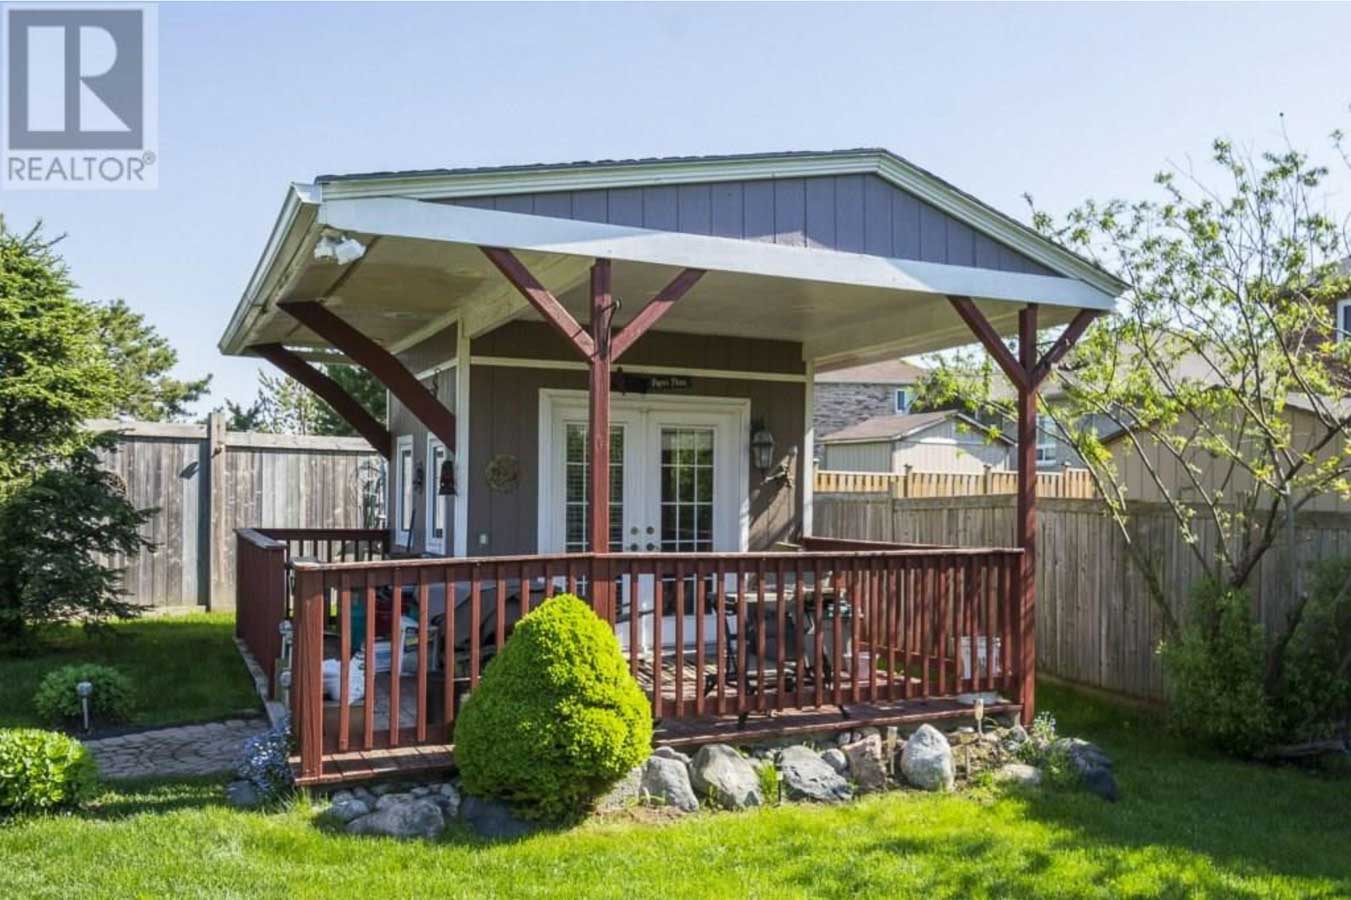
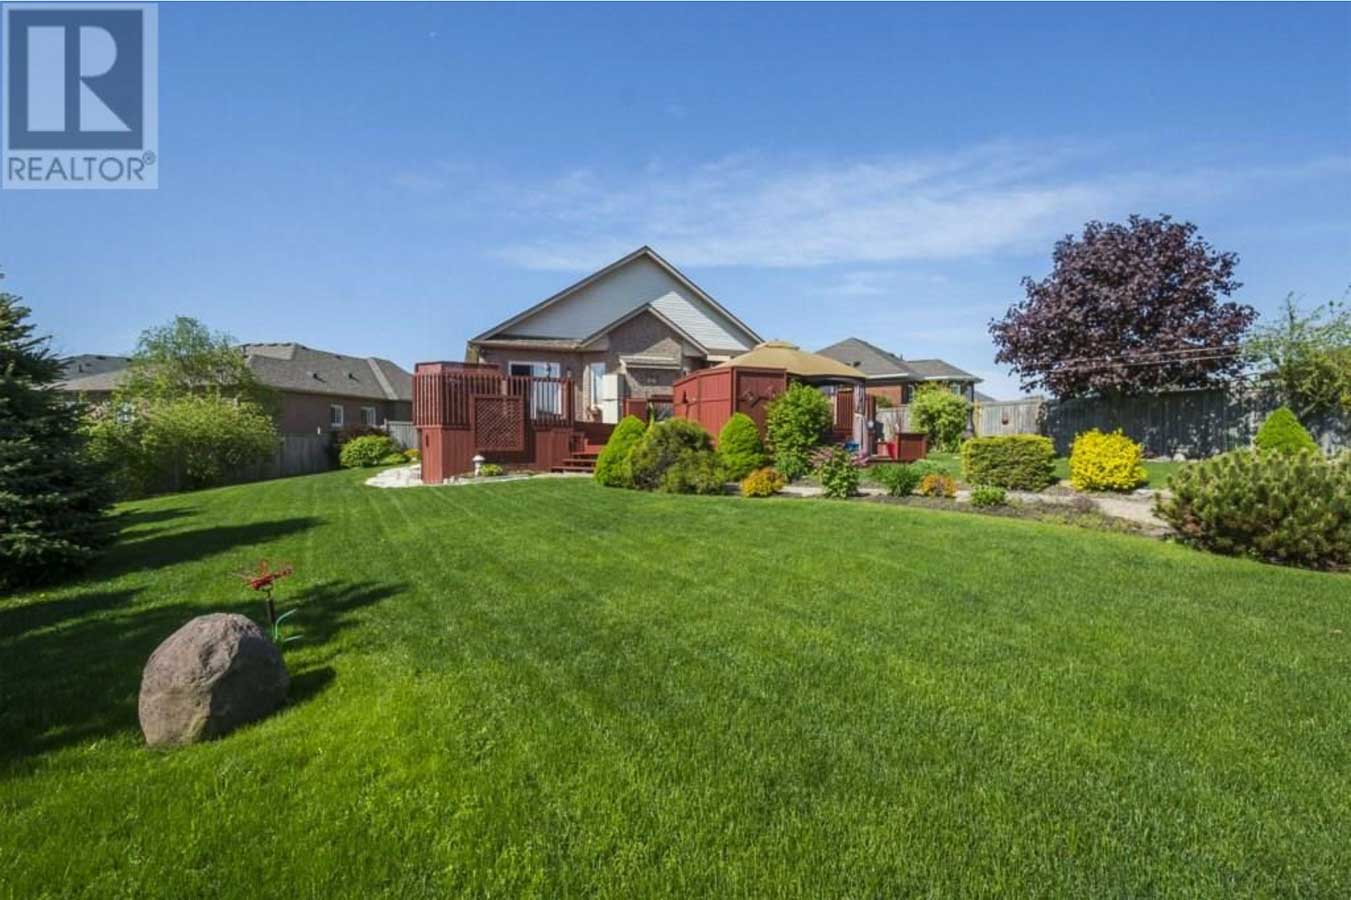
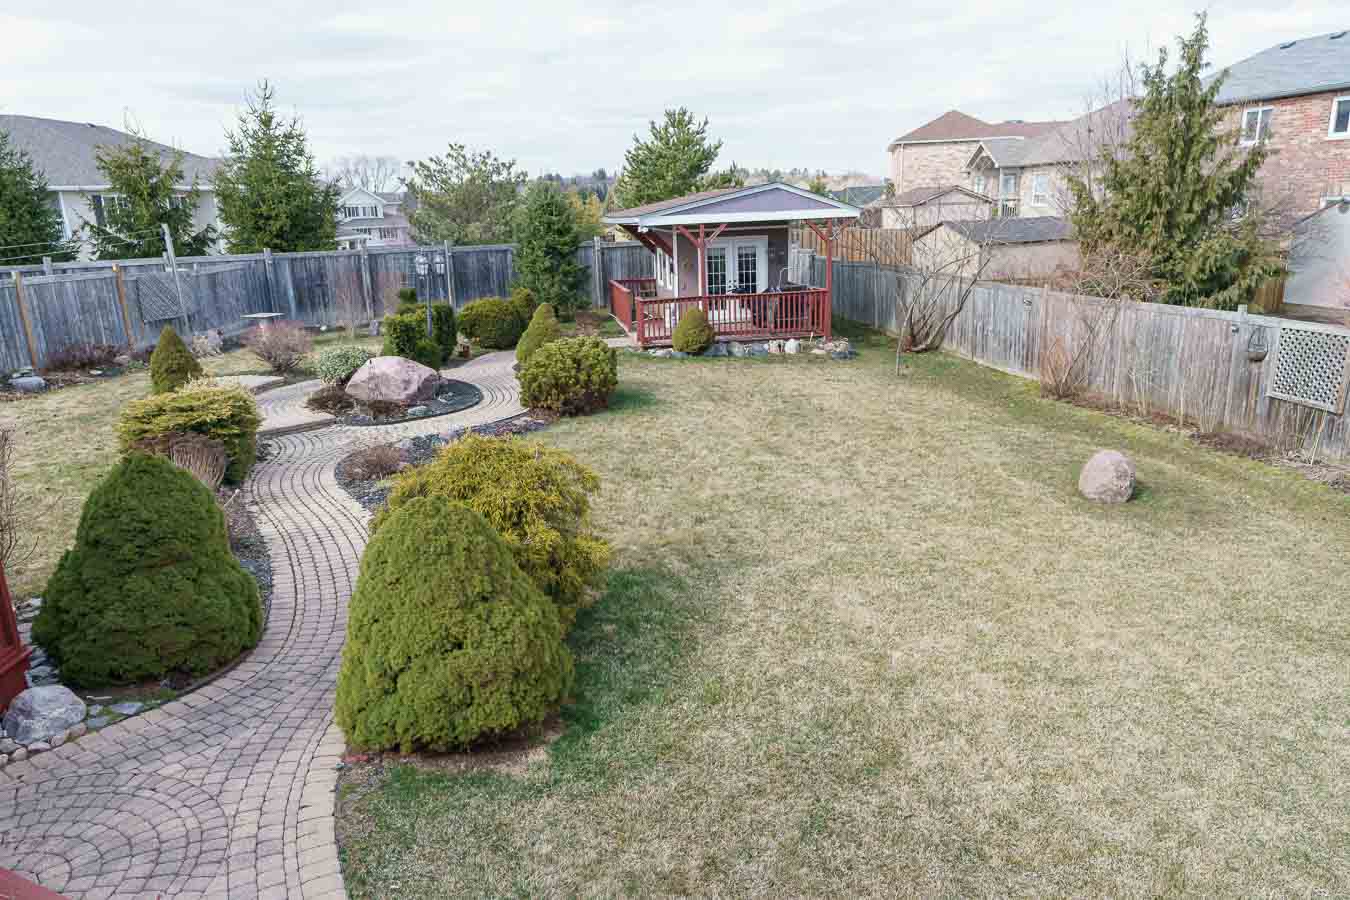
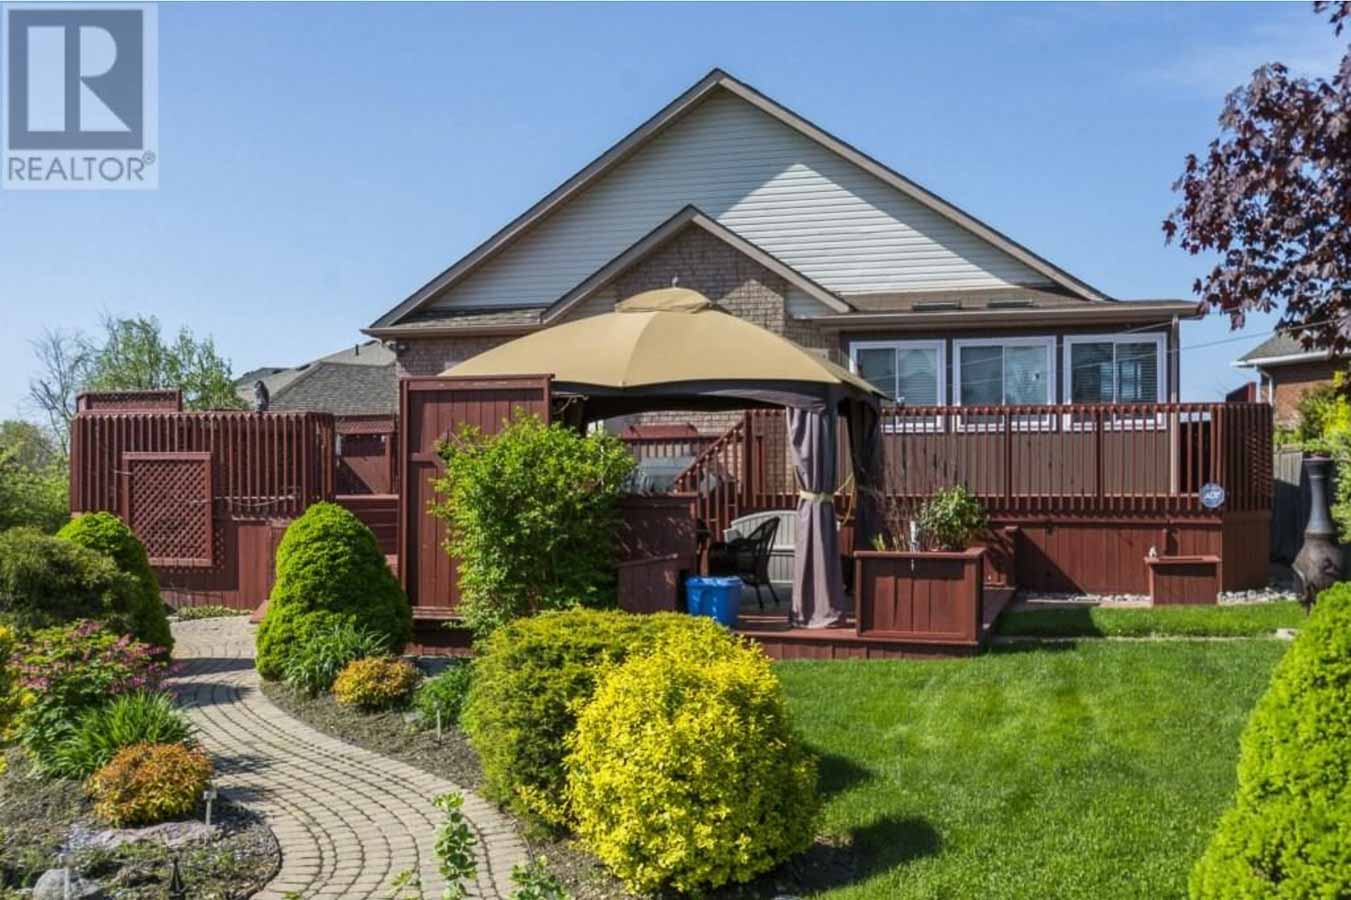
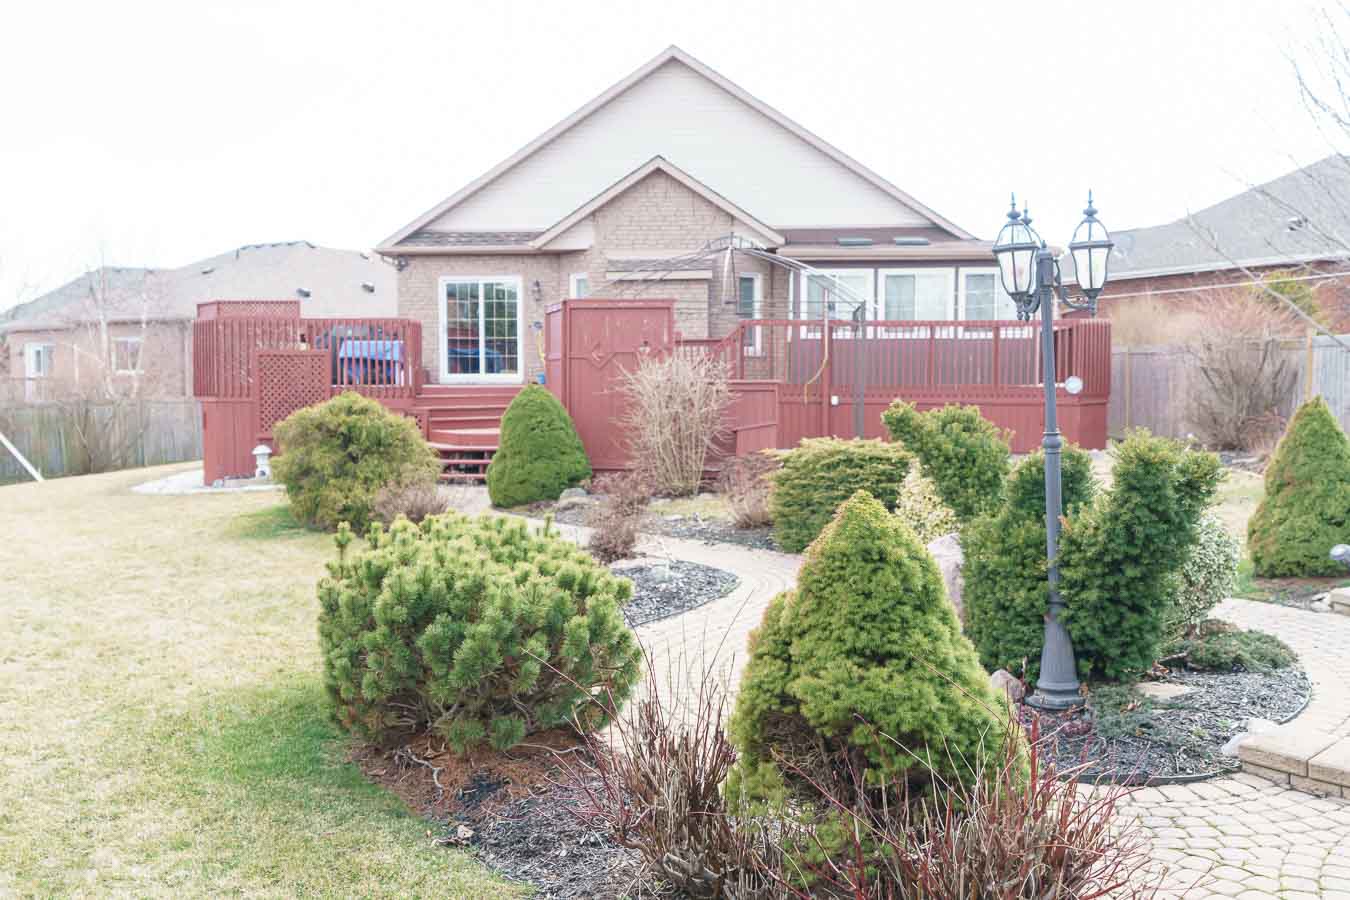
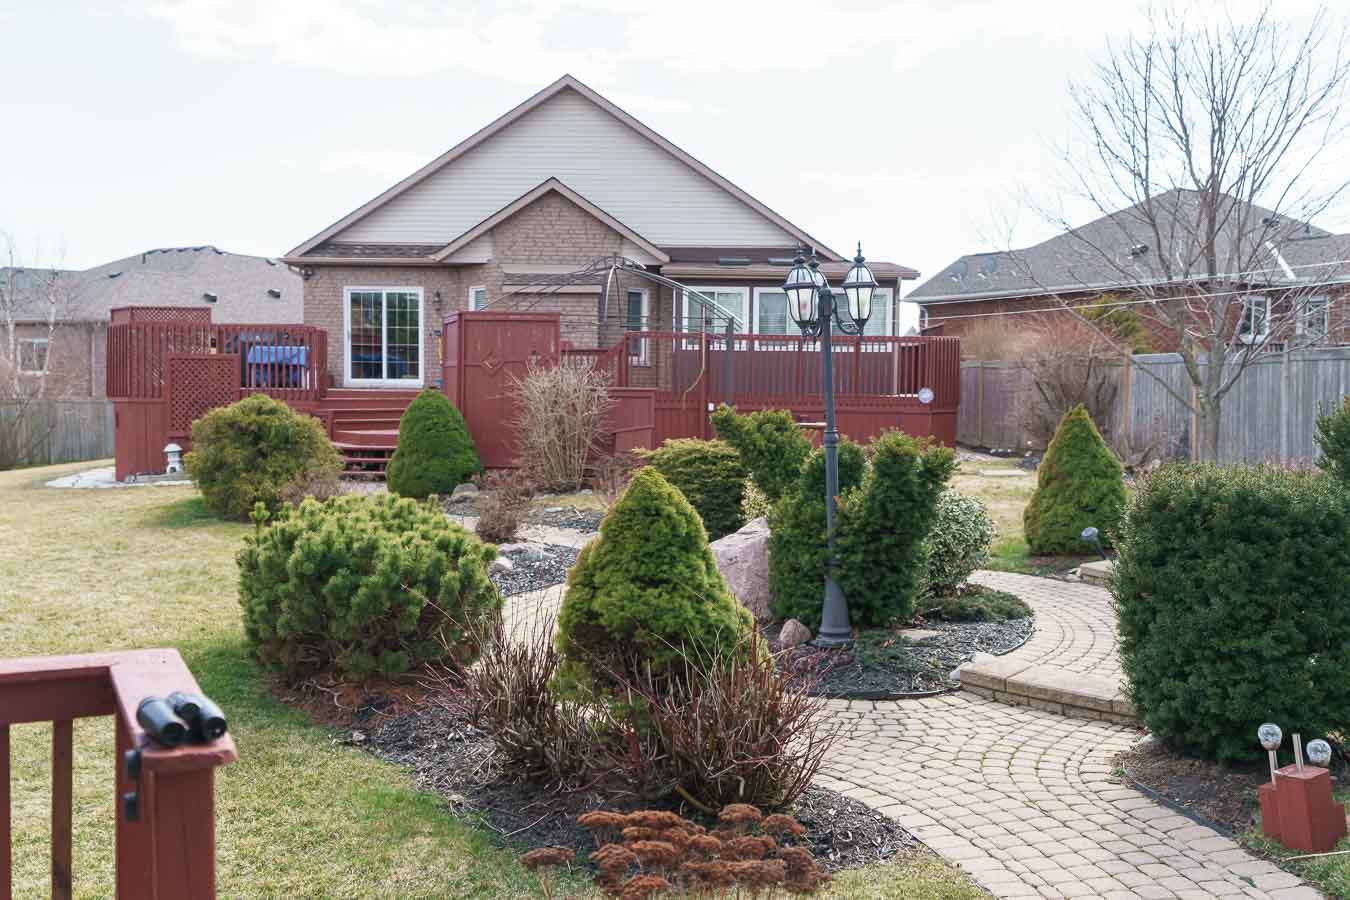
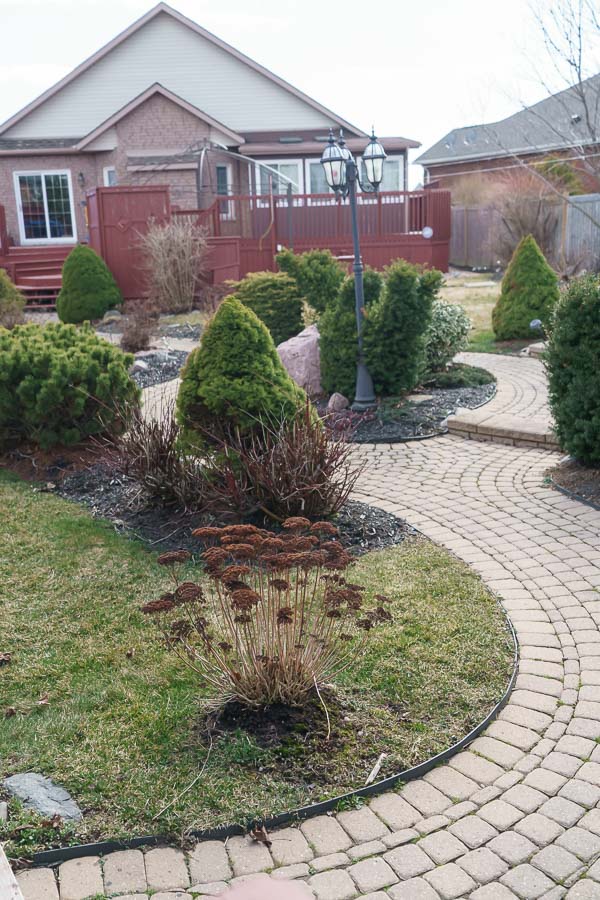
Here are the images of the garden as it was prior to the 2021 update that is planned. Any areas of brown grass are recent pictures, green grass is how it was in 2019. There is trellis planned for under the deck for installation in the spring.


Based on the results of test 3 – I tried AF Tracking Large. When shooting the ducks in the harbour I found this to be slow to acquire focus and went back to Expand Flexible Spot as the alternate focus mode. The default focus mode remained Zone.
As well AF Tracking Sensitivity was set to 4.
It looks like the settings are pretty well stabilizing for the harbour – I suspect Florida and small birds in trees will have variations of these settings.