

As of May 2019 I use FastRawViewer to cull my images prior to importing them into Lightroom. I do this because Adobe is unable to provide consistent performance within Lightroom. Workflow as follows:
- Insert Card or attach Camera – FastRawViewer will start
- the following instructions are all within FastRawViewer
- Shift C to copy the card to FastRawViewerStaging area which is a folder I set up and made a favourite
- Star or Rate each image as desired. Images without a star or rating will subsequently be ignored.
- Command+’ to select images by star or rating
- On one of the stared images, right click and select “Run Program” > Lightroom. (I set up that program in preferences)
- Lightroom will open – with just the stared or rated files visible. Set the destination folder.
The remaining work is performed in LR or PS.
I am documenting my standard workflow so that problems related to issues with the contents of Smart Objects (SO) can be resolved without me re-inventing the wheel each time I have a problem:
- Lightroom Edits should include all toning – taking full advantage of the tonal range, have minimal noise reduction and include fully adjusted Camera Raw CR sharpening with an adjusted Sharpening Mask on an image by image basis. A LR import preset does most of this for me
- Noise reduction in LR is minimal since that will be better handled by NeatImage within Photoshop(PS)
- PS is then used to clone, crop/resize and apply targeted sharpening and noise reduction
- Lightroom then handles any output resizing, output sharpening and file conversion
- Using this approach This results in 3 passes of sharpening: Camera Raw, PS Artistic, Output. Noise reduction is largely performed by PS with different noise reduction levels for the subject and background (where the subject is significantly different from the background). For landscapes where the subject is largely spread over the entire image there is just detail sharpening as required (not the sky or water)
- Don’t crop in LR prior to going into PS, it’s too hard to change in PS at subsequent steps as masks are not easily adjusted in PS if the crop size changes
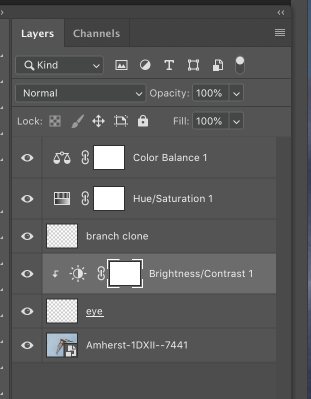
- Open the LR image in PS as a Smart Object. In the example below its the bottom layer with some further adjustments on top that were to awkward in LR. In particular I use PS for cloning
- Create a SO containing all “rendered pixels layers” – clones etc. This Pixel SO is the basis for Noise Reduction and Sharpening. Generally colour balance is performed here as the next steps do not deal with the global image
- From the Pixels SO, A single SO with Noise reduction must contain the Pixel SO as the base layer, then Noise reduction on top of that. Therefore the Noise Reduction SO would contain 3 layers at a minimum:

1) Subject (the Pixels SO plus a mask of the subject) with specific edge detail Noise Reduction. Detail enhancement is optionally performed using NIK at this stage.
2) Background (the Pixels SO plus a mask of the background). Heavy duty noise reduction – basically a blurring of the background.
3) There could be pixels missing from the background and subject, therefore remaining Rendered Pixels not covered by the 2 noise reduction layers above (those pixels not masked by the Noise Reduction) is included in this Noise Reduction SO. In theory this should not be required, but in practice it is. The Rendered Pixels SO exists within the Noise Reduction SO to fill in any gaps in the Subject/Background masks that reside on top of the Pixels Layer. The Pixels layer is mandatory in the Noise Reduction SO – leaving it out of the Noise Reduction SO will cause inconsistencies if the Pixel SO contents are changed in the future. This seems to be caused by some PS bug). - The SO labeled Noise Reduction is duplicated to create the Sharpening Layers. The Noise Reduction SO also is the source for any sharpening edge masks
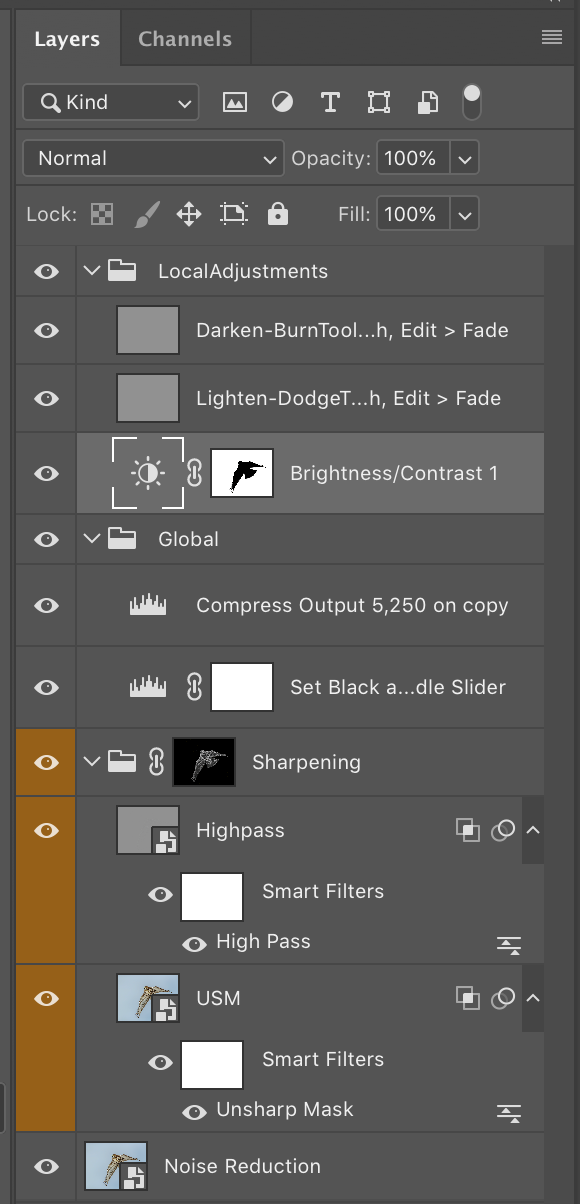
- Below is the final layer stack for the Image. Local Adjustments are made on top of Global and for images to be output for sRGB, a Levels Adjustment adds image compression of tonal ranges 5-250 to allow for compressed output from Prophoto to sRGB without blowing the highlights or blacks.
- The layer mask for the sharpening layer consist of an Edge Mask.
- As mentioned the final layer Noise Reduction contains the noise reduction and adjusted pixels content.
- Using LR: Output processing is then performed on the layered TIFF file including resizing, printing and output sharpening.